From zero to hero in less than 3 hours.
This must be magic? No it’s not. It’s the Brazilian Keratin Treatment! 
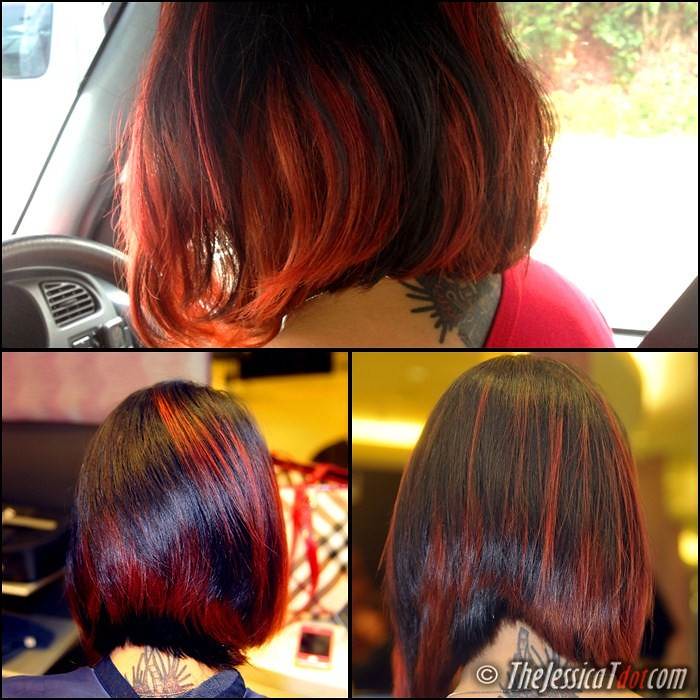
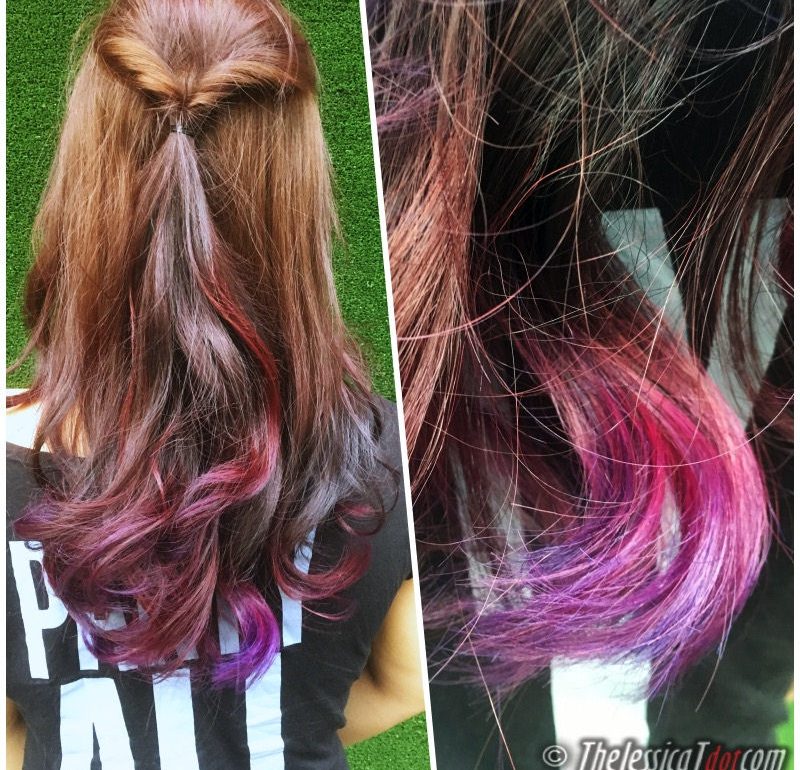
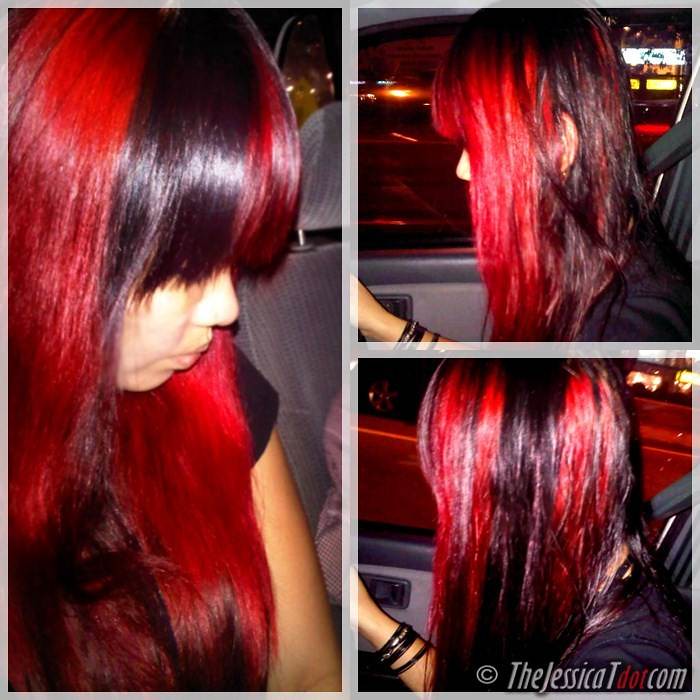
Remember the recent tragedy/mishap that completely fried my hair previously?

Deep fried grass. There was nothing I could do.
Except…only one way to fix it.
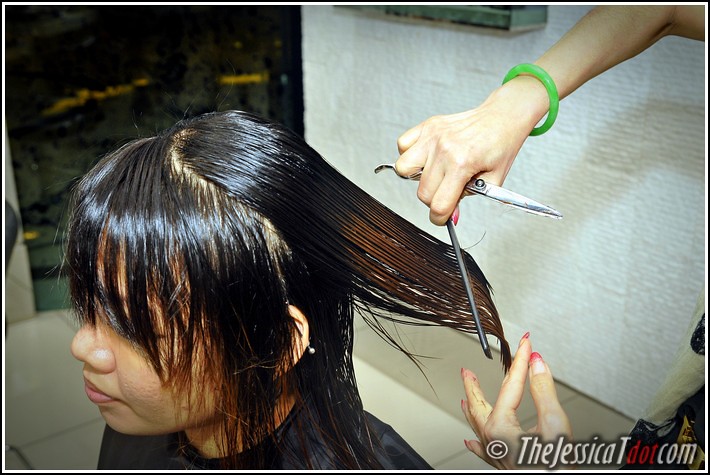
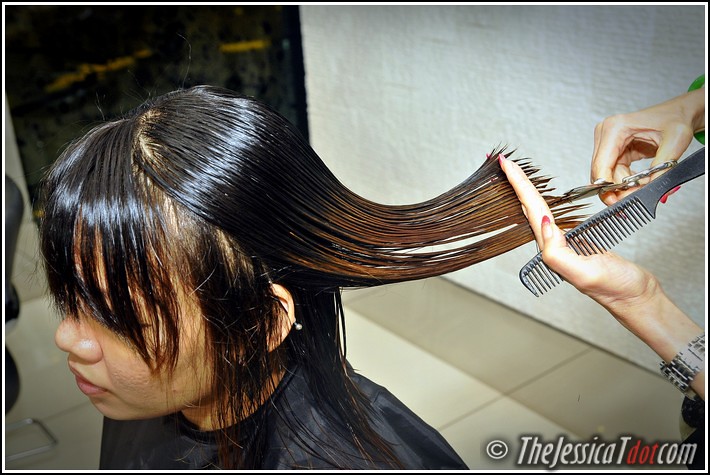
Making sure it is given a good treatment to restore it back to health & its natural shine as well as having my destroyed ends perpetually cut off, little by little.
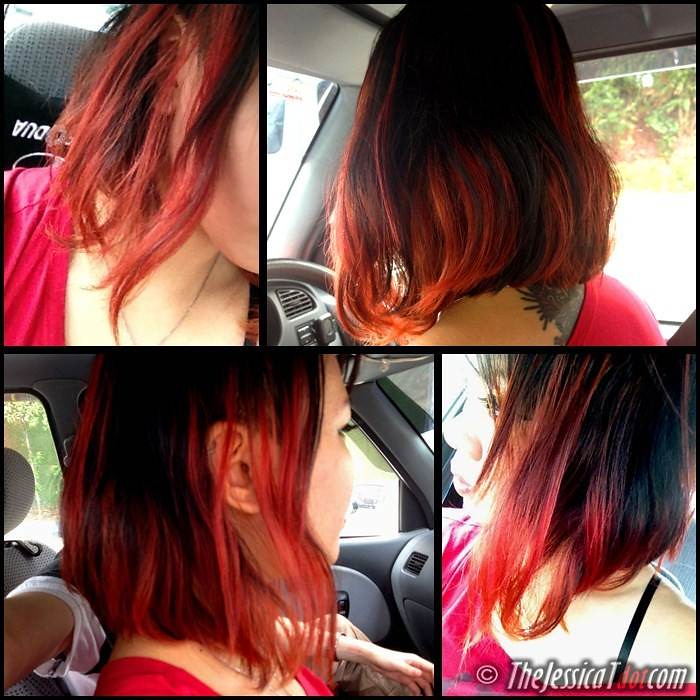
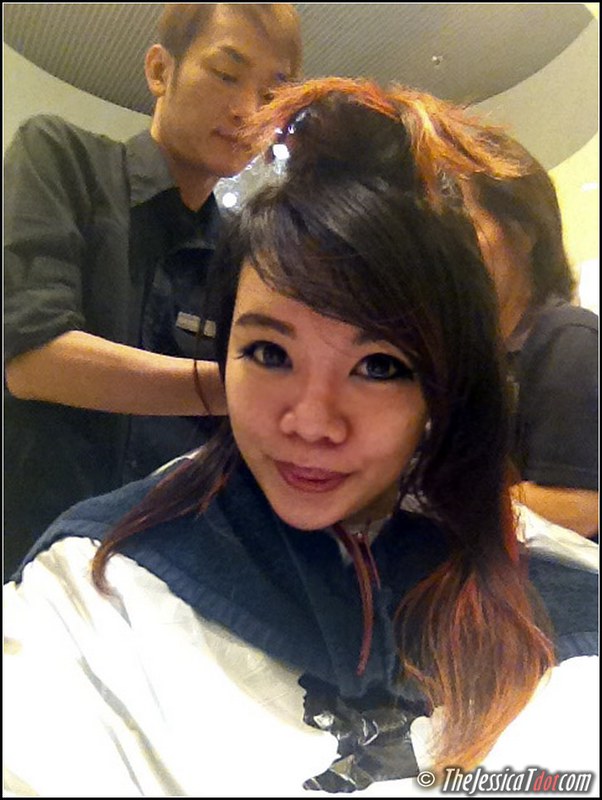
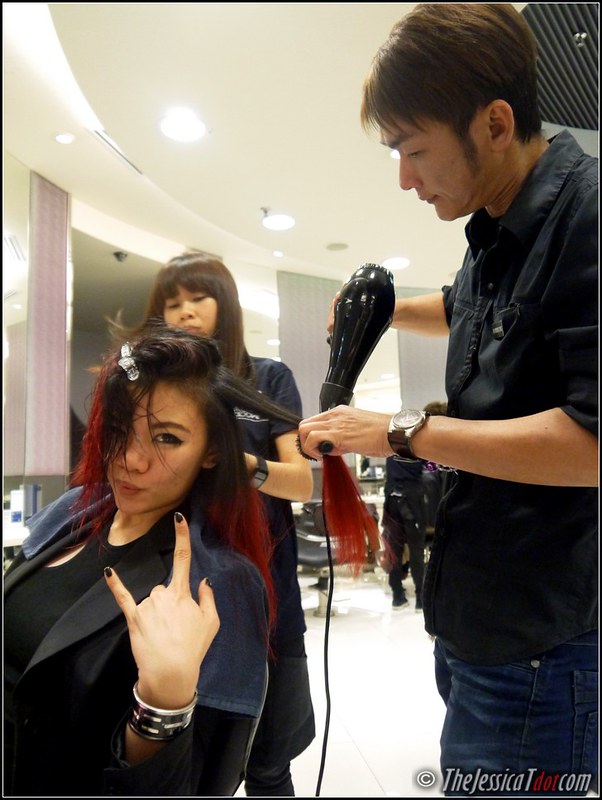
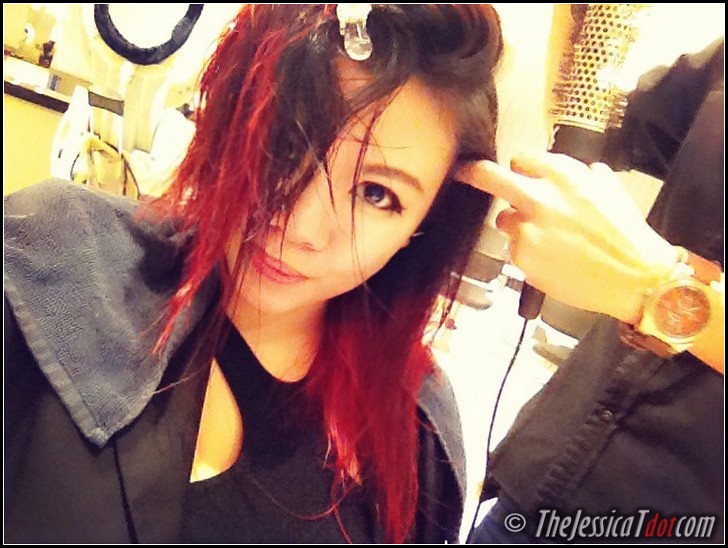
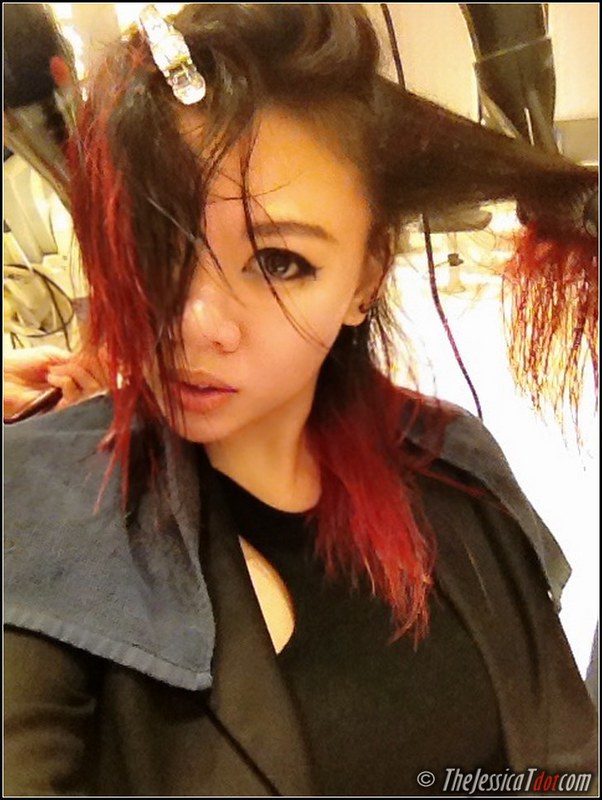
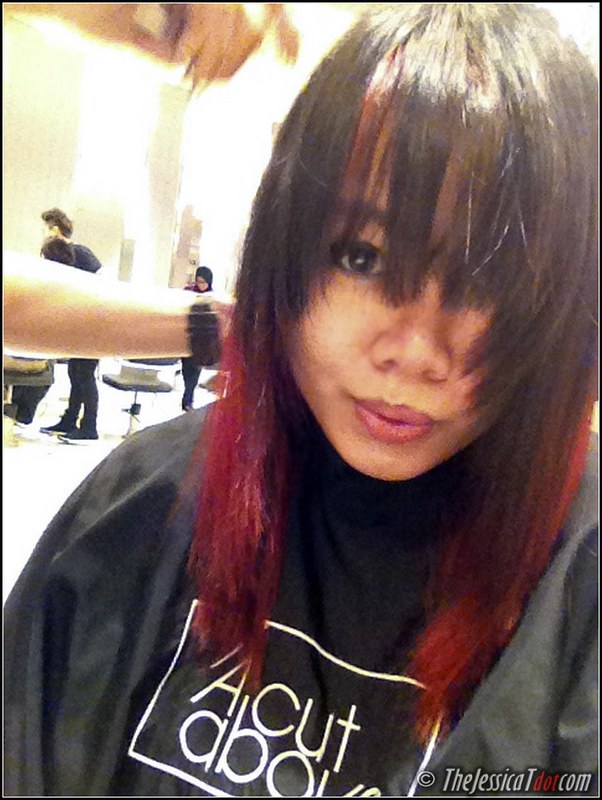
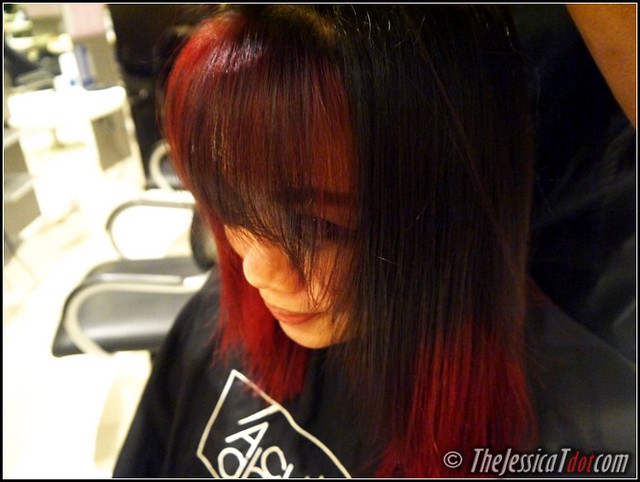
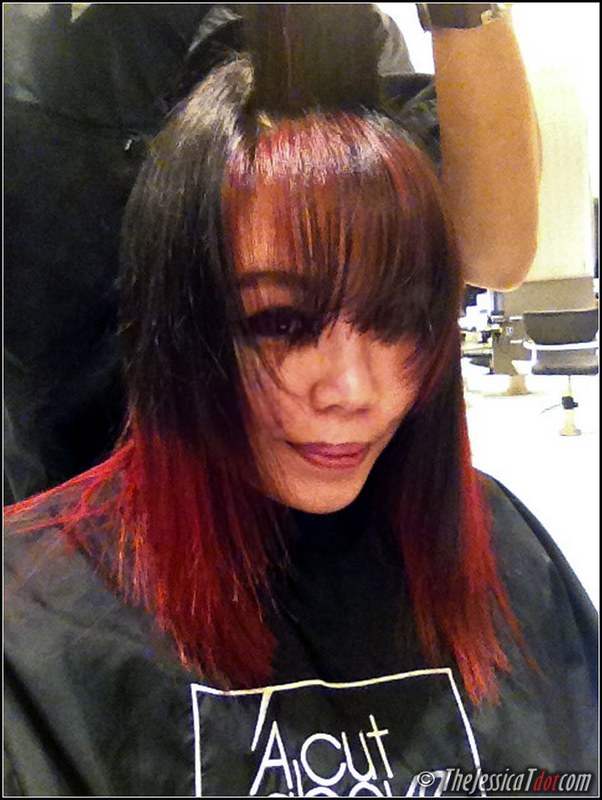
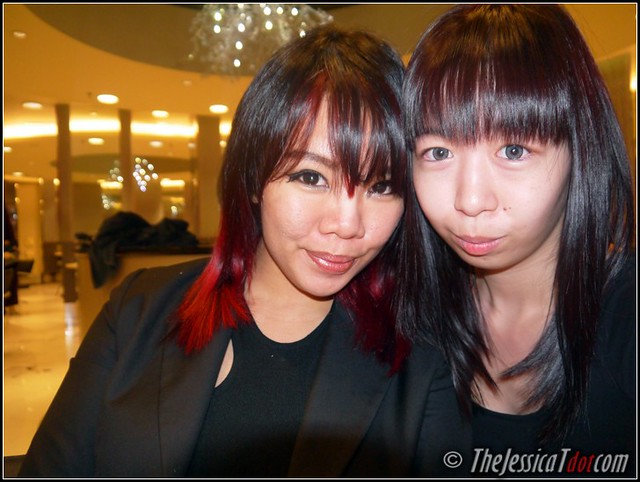
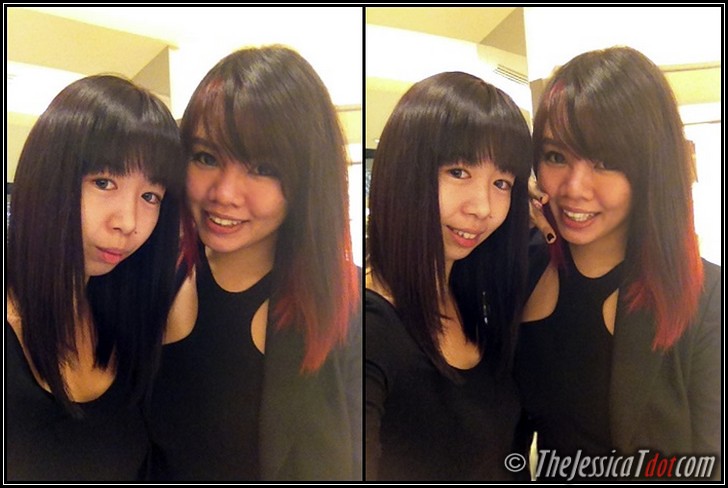
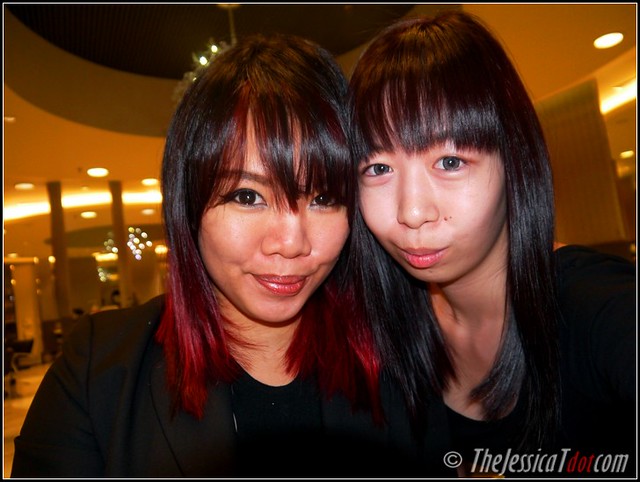
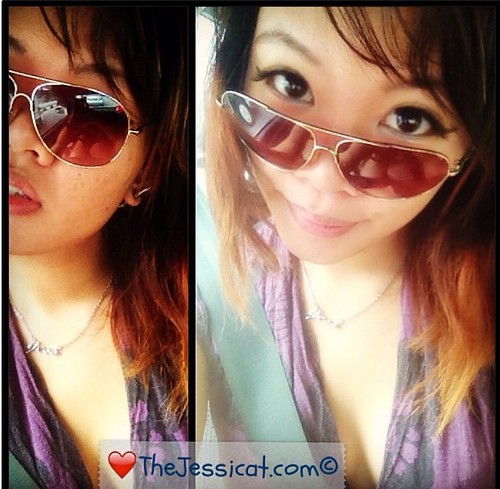
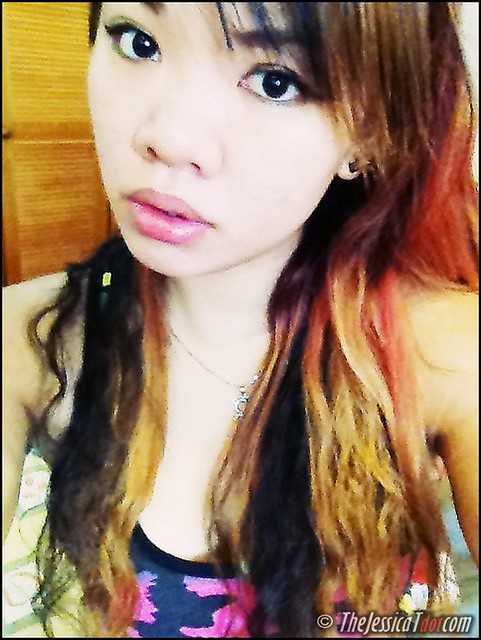
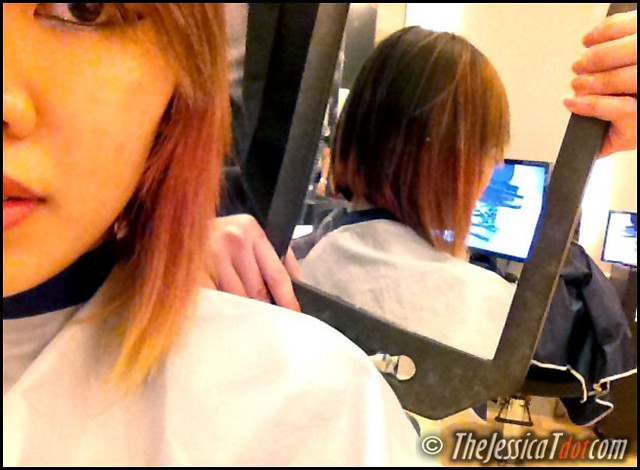
Shot these photos just before undergoing the hair treatment.
My dry & unmanageable, frizzy mane  I hated its damaged & rough texture!

There was only one place that came to mind. One place with the expertise that I trust to rescue my hair
So I hopped into my car and drove there immediately
—————————
Before I begin, let me announce that I’ve decided to wait 3 weeks after this hair appointment
to publish this blogpost as I wanted to testify and prove that the results of
the hair treatment I underwent can be easily maintained and can actually last.
After almost a month, it certainly proved it’s worth, my hair is still very smooth, healthy and straight – so impressive!
—————————
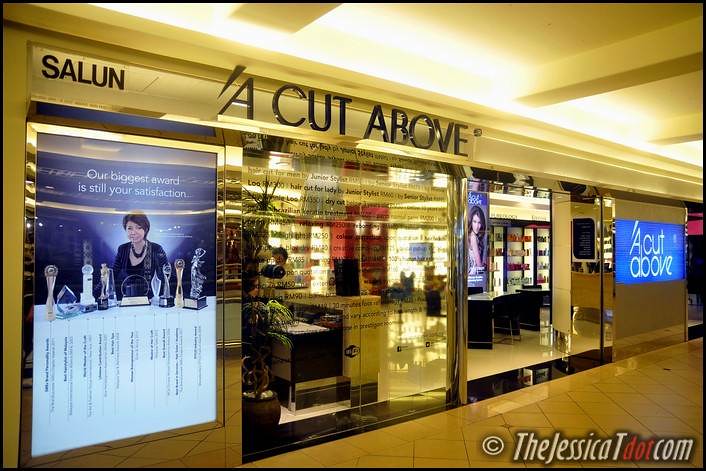
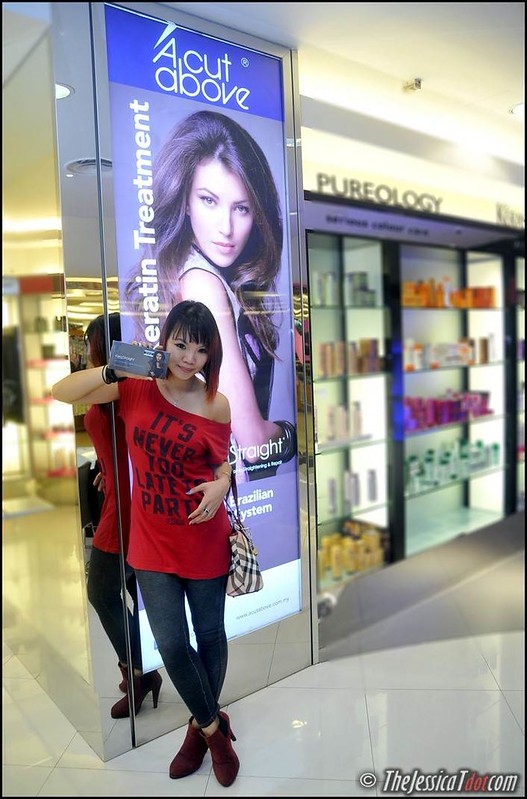
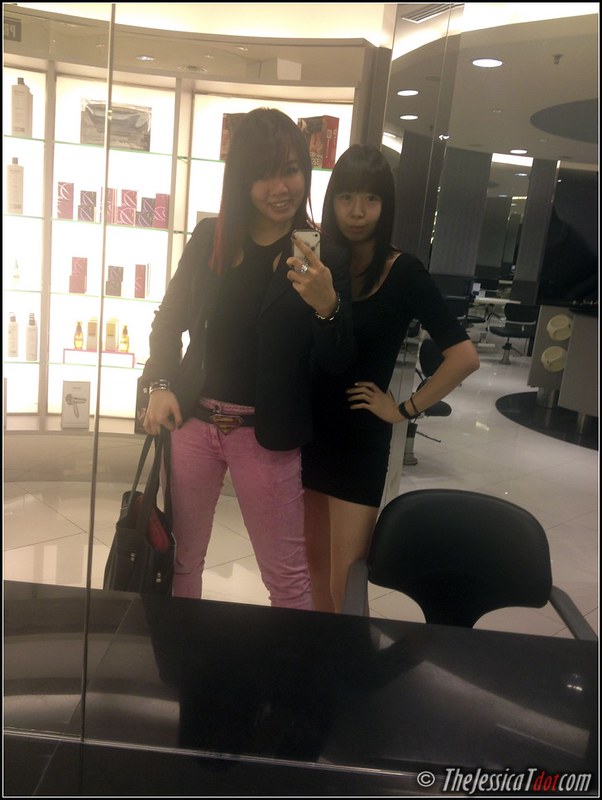
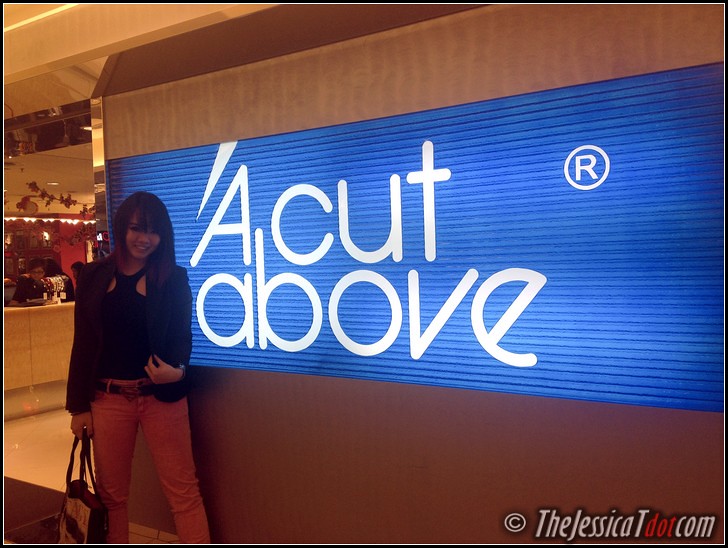
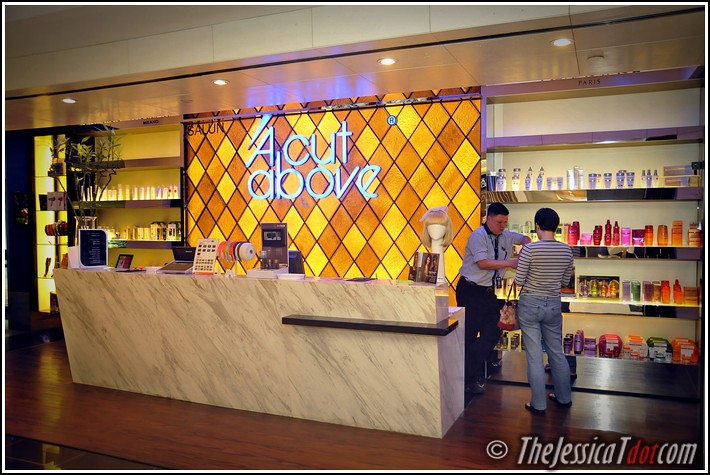
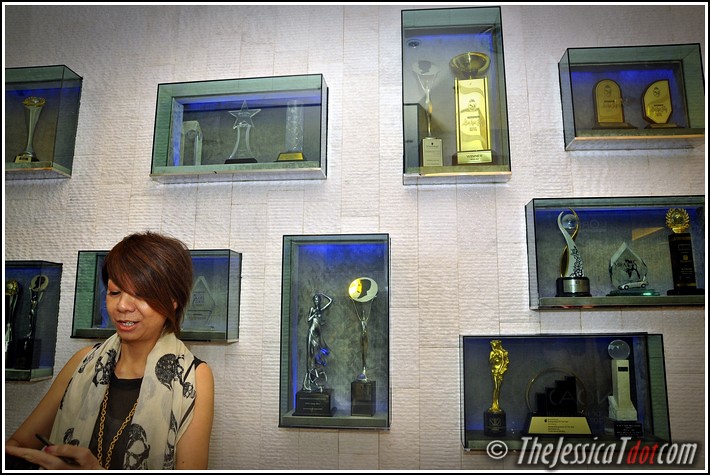
I dropped in for my hair appointment at A Cut Above in Mid Valley Megamall
I loved the neat and minimalist-yet-classy concept of A Cut Above’s interior.
It was spacious and brightly lit too! Here, take a look 

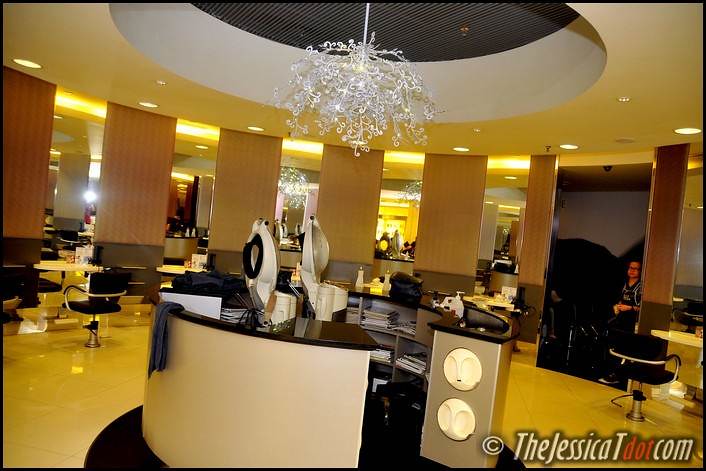
The front desk/counter & the walkway
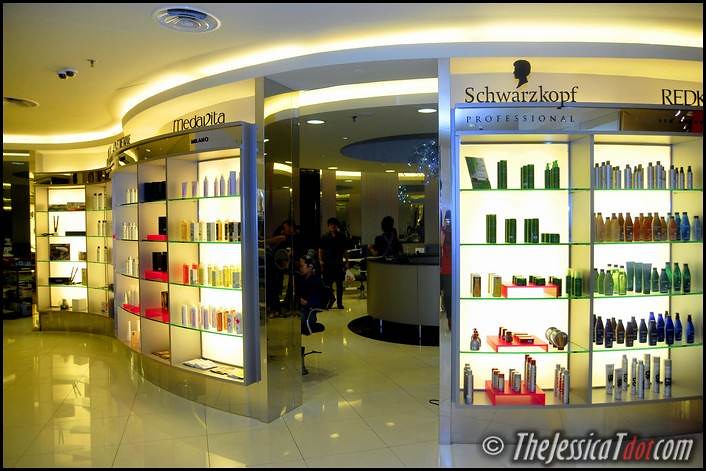
Various hair products & brands were displayed on a big open showcase of cabinets
Beautiful, right? I took my seat in this zone
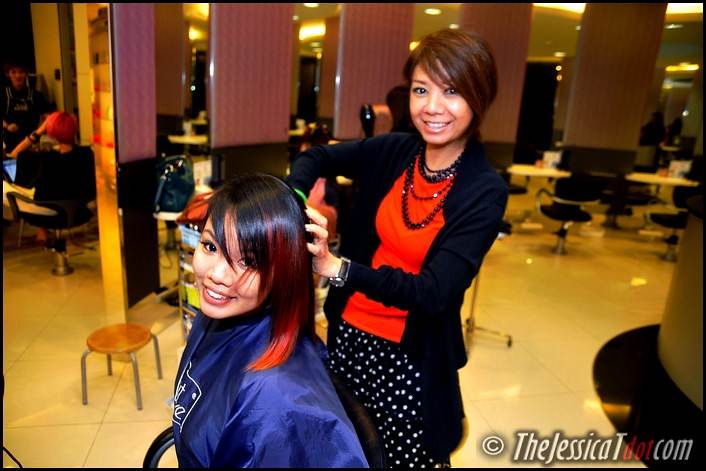
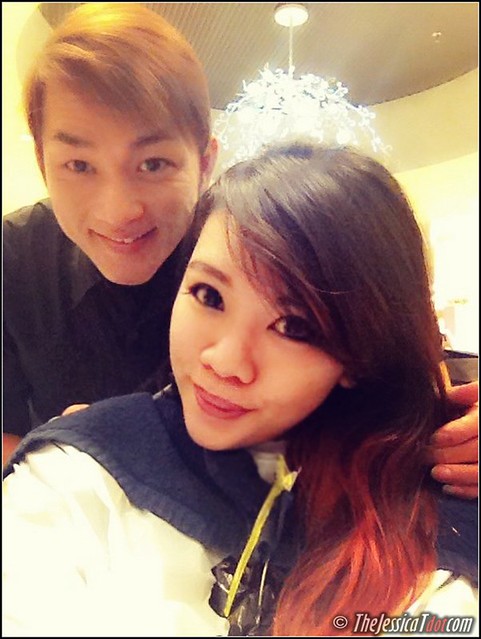
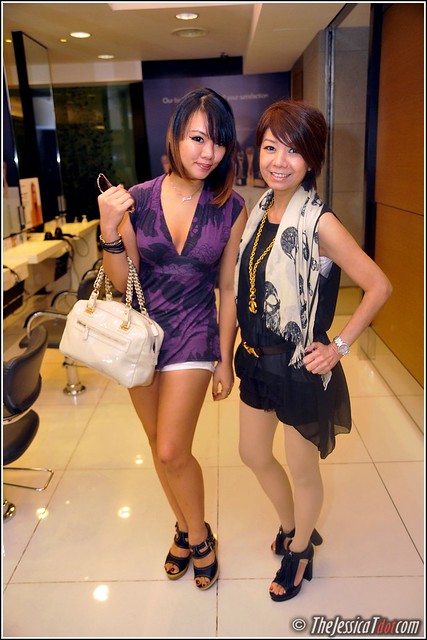
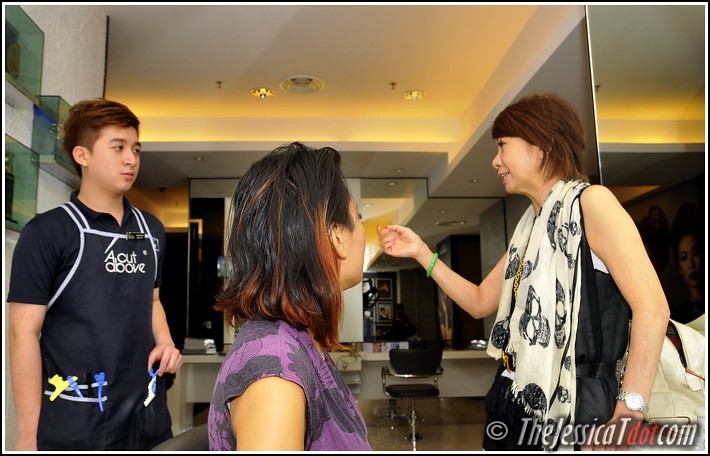
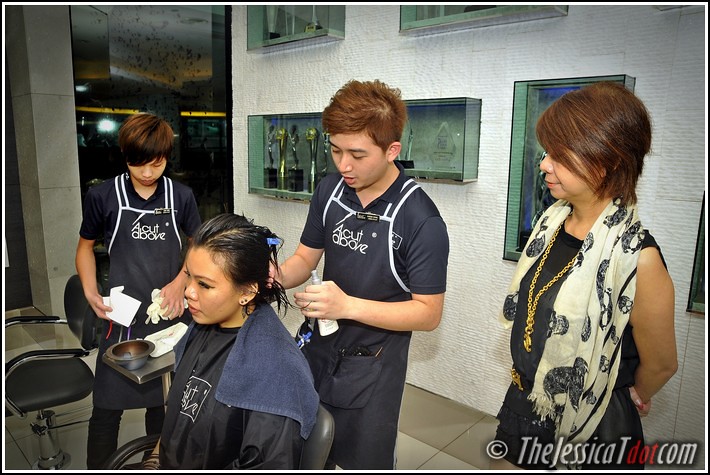
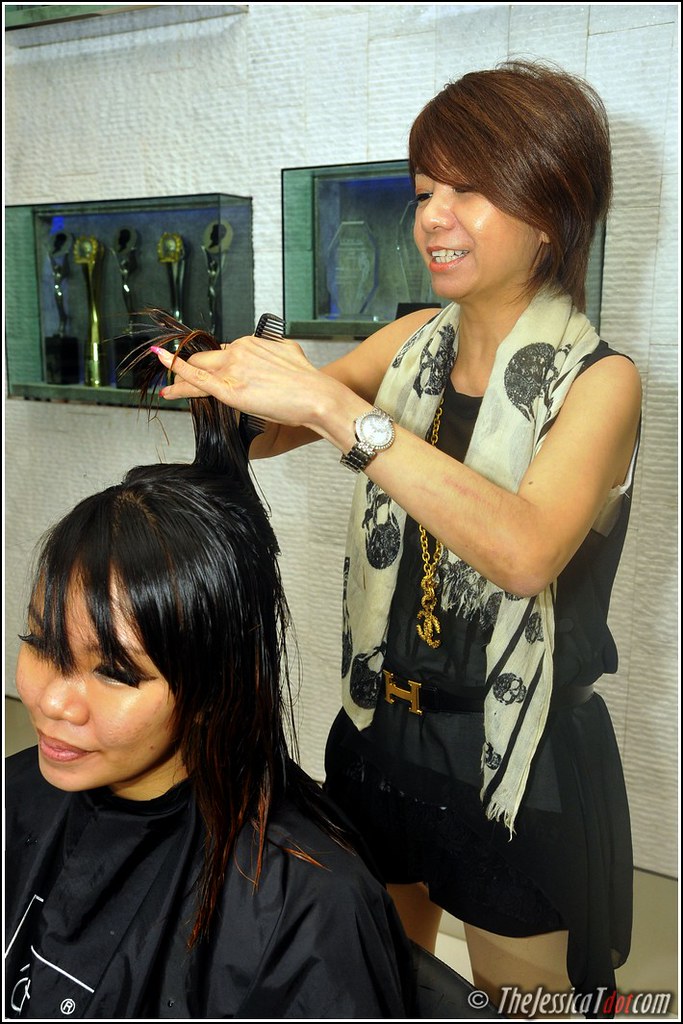
Chief Creative Director & Founder of A Cut Above, Winnie Loo, consulted me on the condition of my hair. She’s one amazing person, by the way. One that I have much respect for since the day we met in 2009. 

I trusted the fate of my hair upon her. What’s not to trust? ")
She’s a dear friend and also the bigboss of A Cut Above, that speaks for itself!
Winnie recommended me their latest technology, the Brazilian Keratin Treatment, as it would be the most suitable for my frizzy, wavy & unmanageable hair.
After she accessed the texture of my hair and gave me her consultation, she gave her staff some instructions before they began the procedures.
Ready for a detailed, long review and in-depth description of my experience?
Since many of you have been asking me to explain and shed some light on the Brazilian Keratin Treatment that I personally underwent, here it is!

STEP 1 : Hair Wash/Cleansing
My hair was first washed with normal shampoo to cleanse my oily scalp.
Then it was washed again with a Pre-Treatment Cleanser and left to leave-in for 10 minutes. This is to ensure that my hair cuticles are gently opened, impurities stripped away and ready to absorb the KeraStraight treatment.

STEP 2 : Preparation
My hair was towel-dried & blow-dried to remove the remaining moisture.
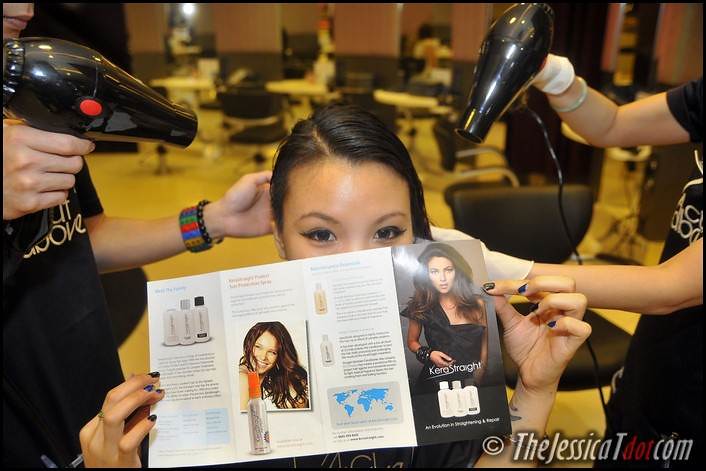
A light mist of Pre-Treatment Spray was sprayed on all the porous & weak areas of my hair.
After spraying a copious amount of Pre-Treatment Spray, they lightly blowdried it again.
At this point, my hair was ready for the treatment! 

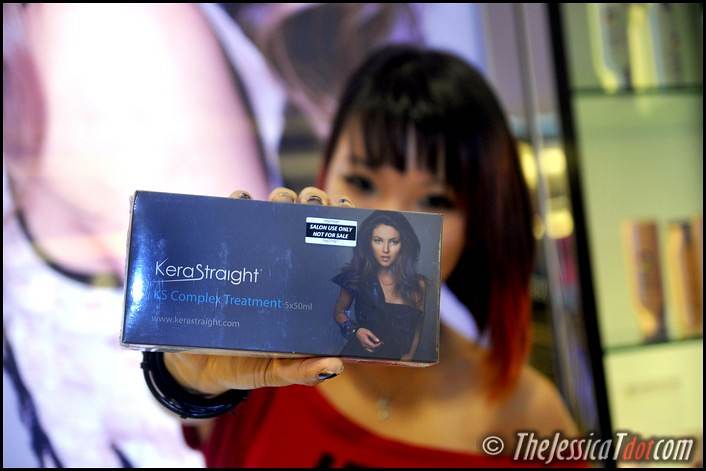
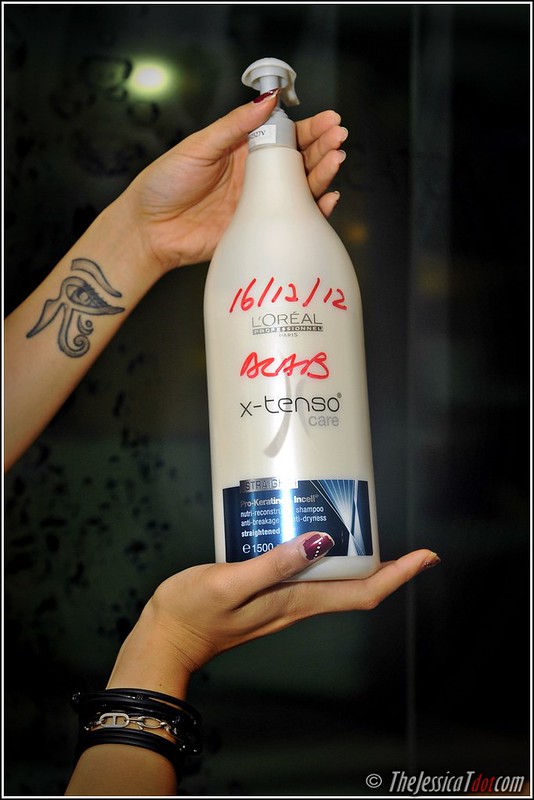
This is the Brazilian Keratin Treatment solution used on me – the KS Complex Treatment by KeraStraight
 Fun Fact!
This Complex Treatment is a protein based straightening & repair treatment for normal, wavy, unruly & damaged hair. It is formulated with low pH protein technology which improves the condition of the hair and smoothens it.
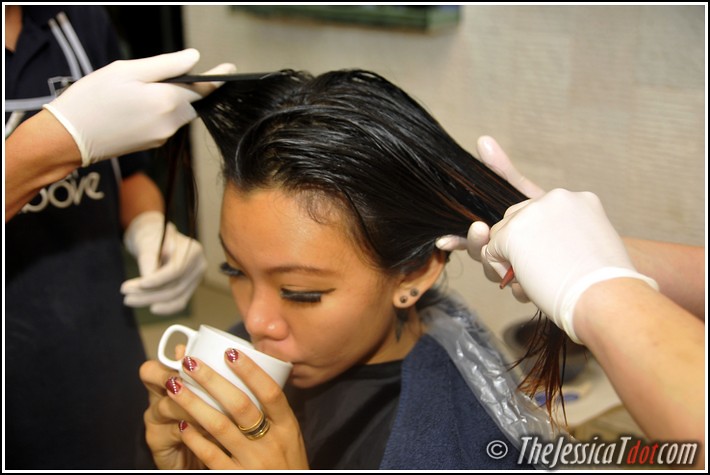
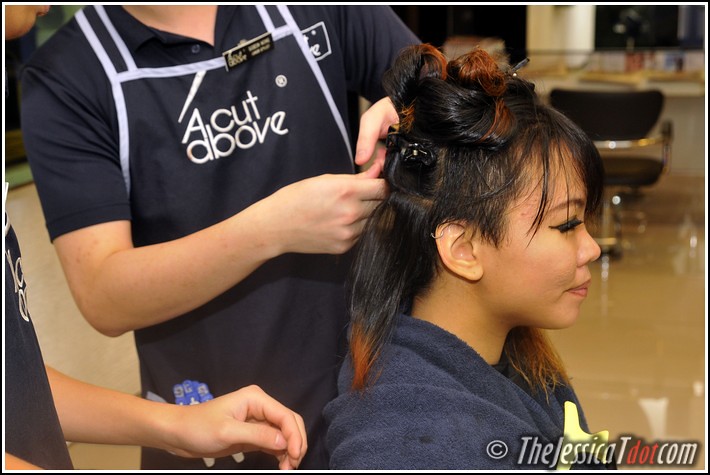
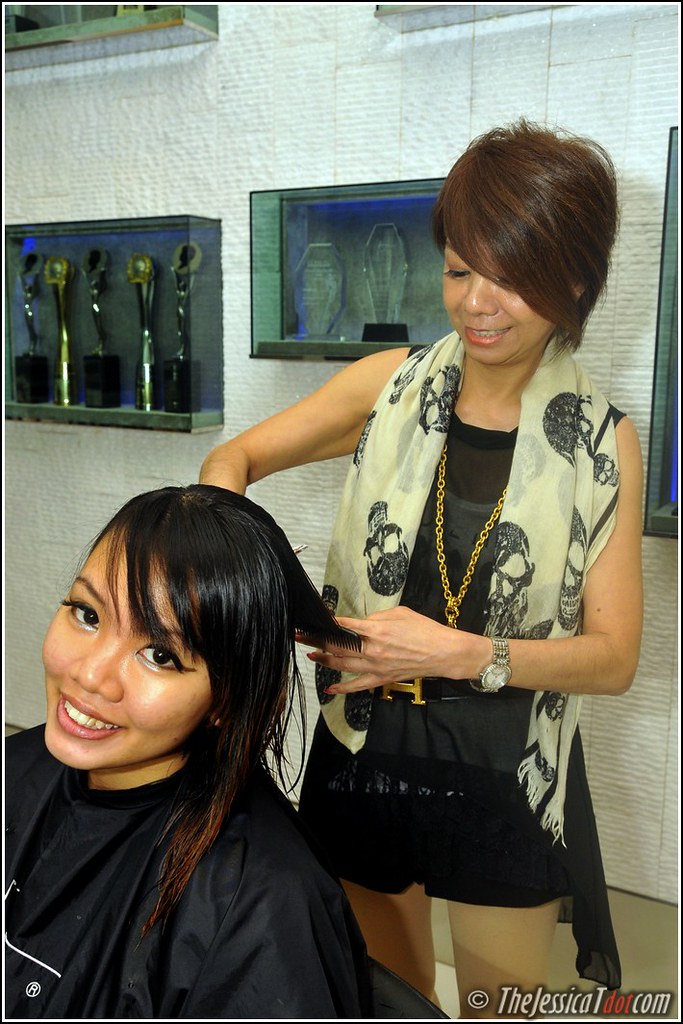
My hair was separated into sections & clipped up for easier manageability
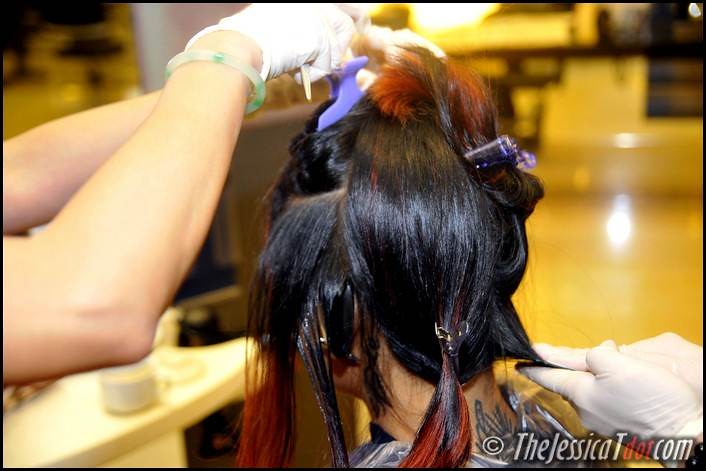
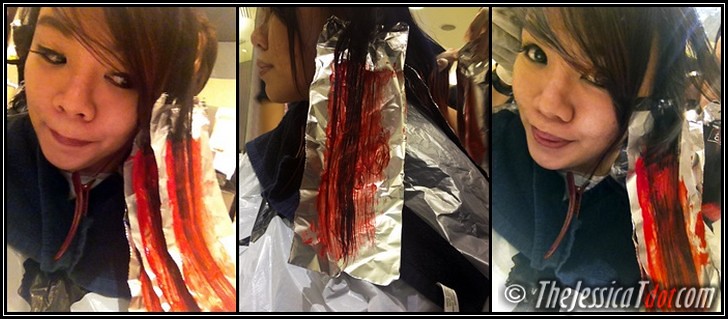
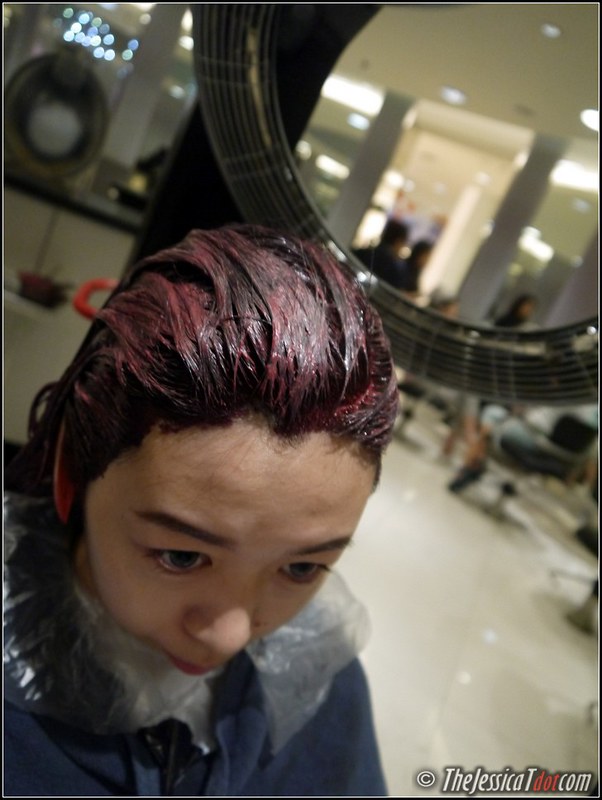
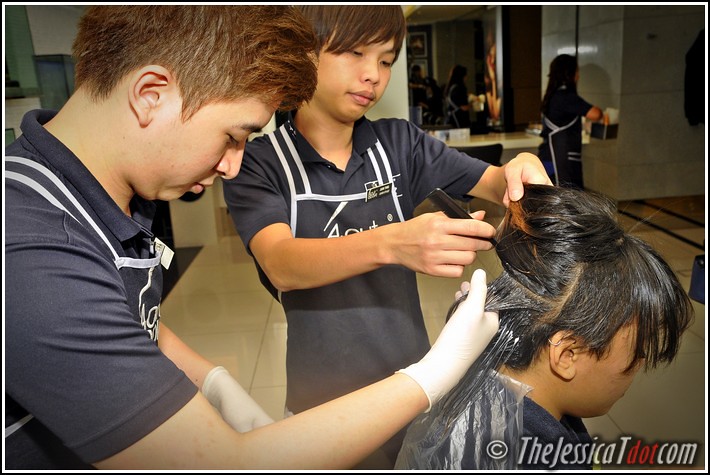
STEP 3 : Application
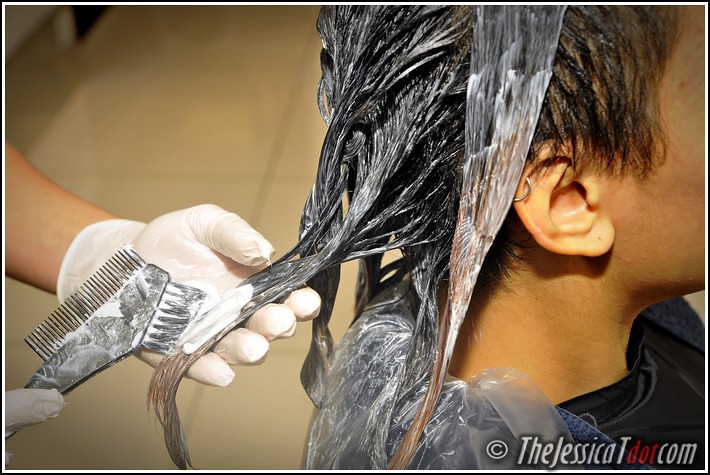
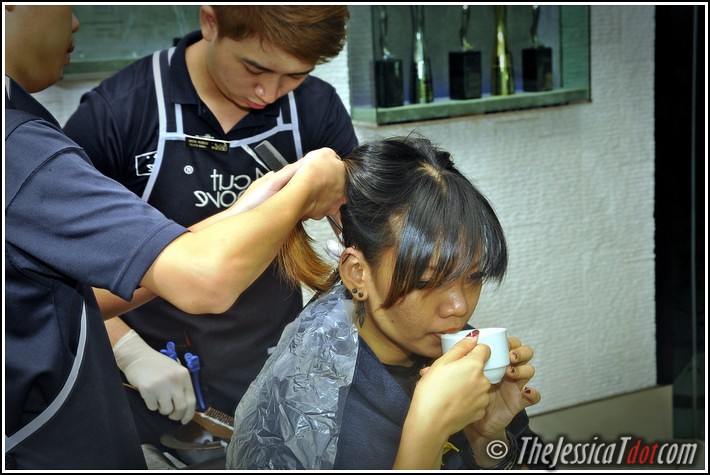
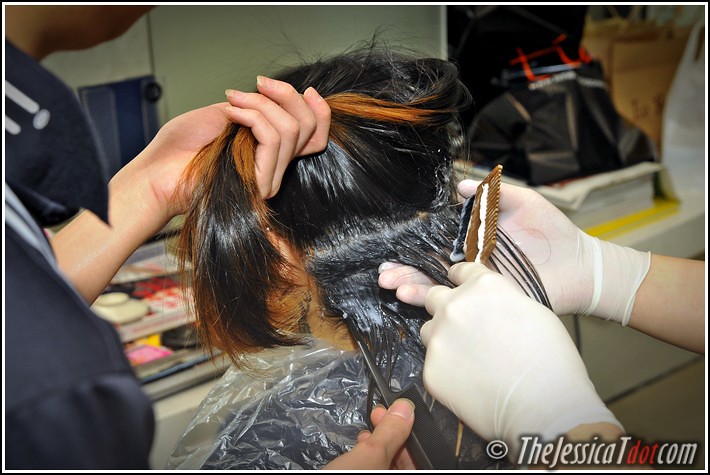
When they began to apply the KS Complex treatment liberally to all the sections of my hair, I was already bracing myself.
Had initially expected a pungent chemical smell to fill the air, but I was so wrong!
Making sure the treatment is evenly spread on all the strands of my hair
It had a light, sweet and fruity scent to it – to my utmost surprise!
This made my experience all the more pleasant.
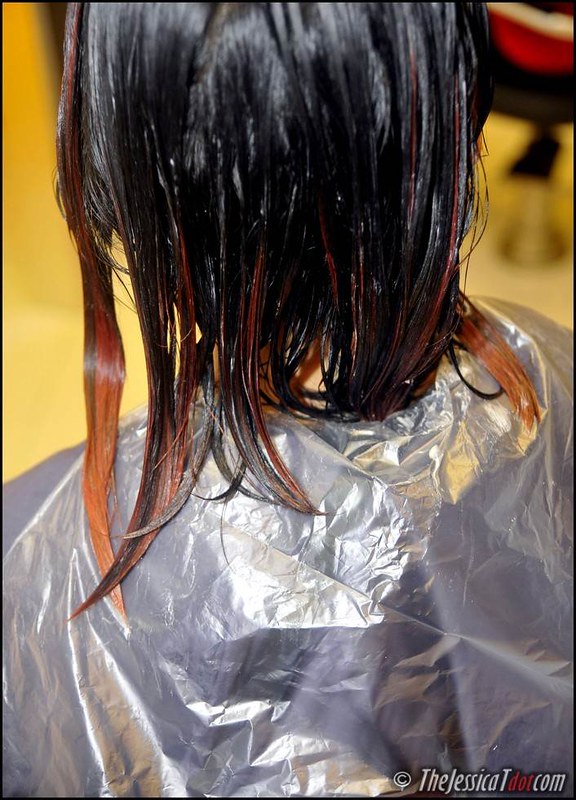
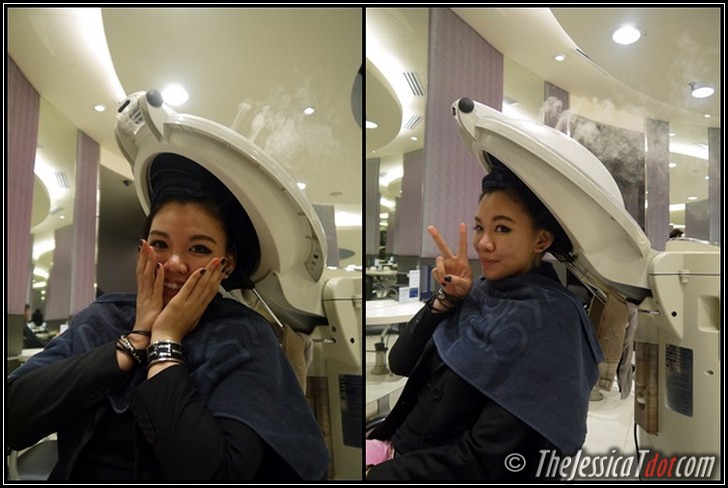
STEP 4 : Development
They had it to leave-on for about 20 minutes so that the treatment “sinks in” properly.
Gotta make sure it’s benefits are maximised and penetrated deep into my hair shafts!
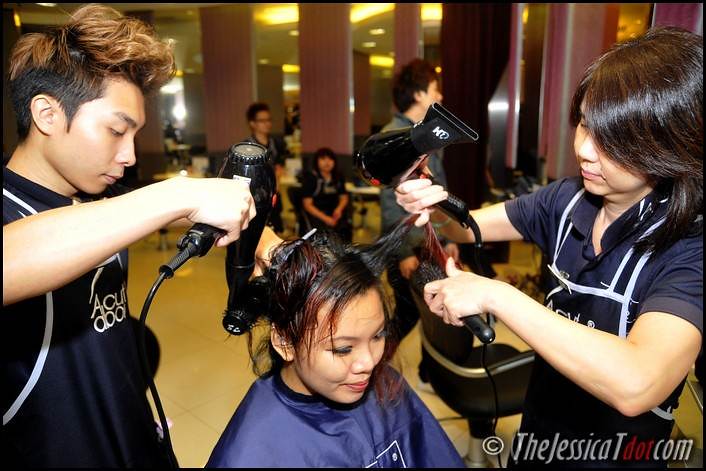
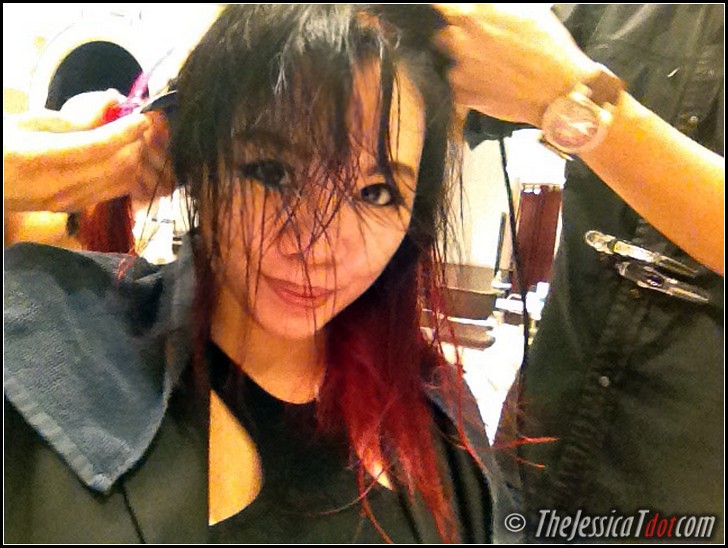
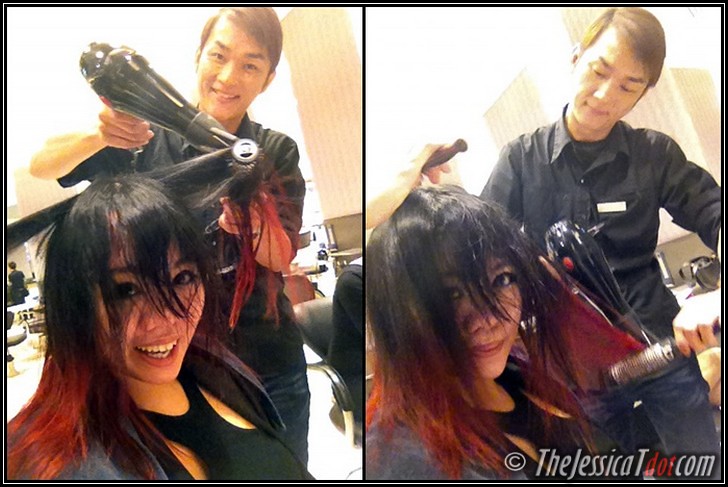
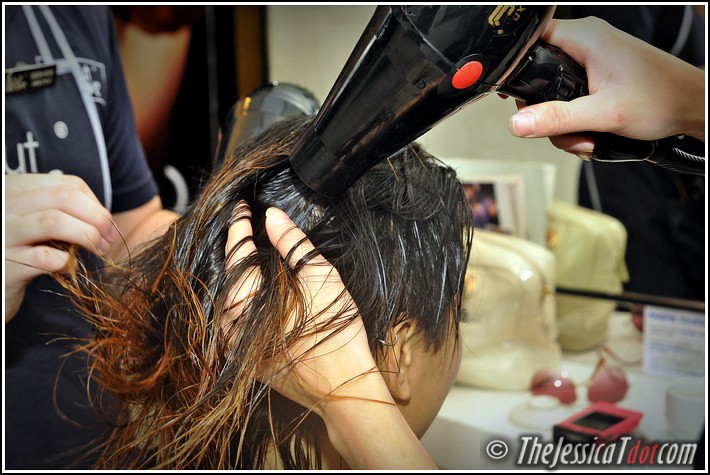
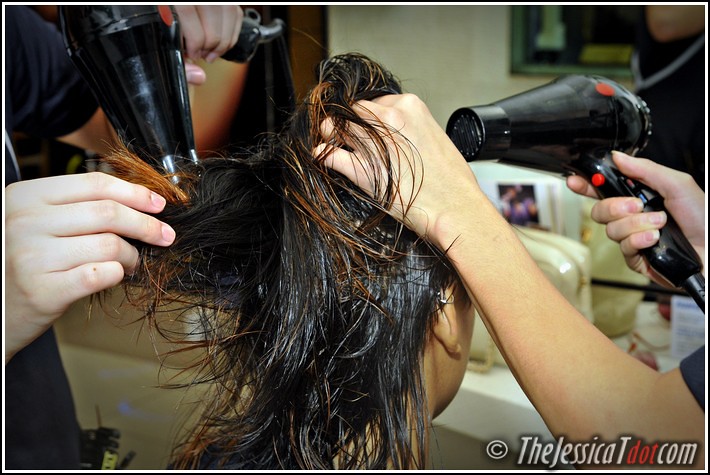
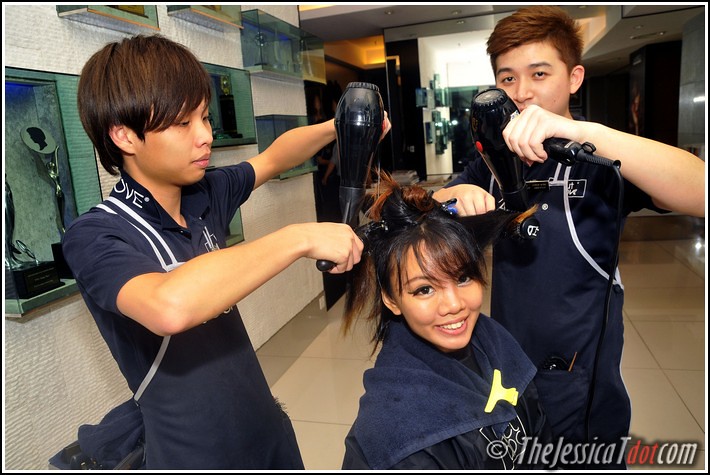
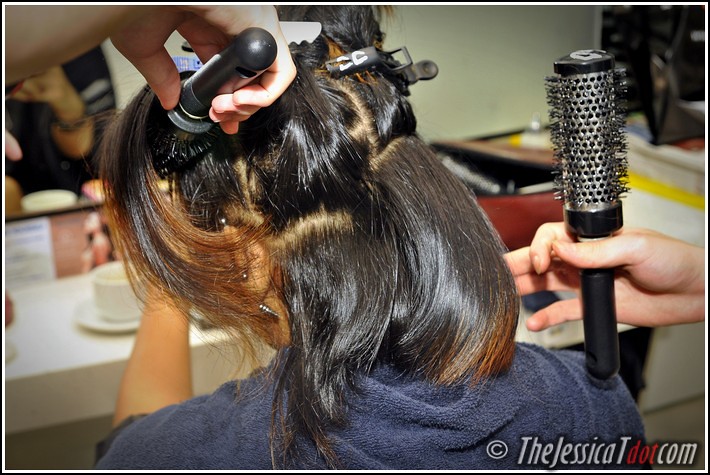
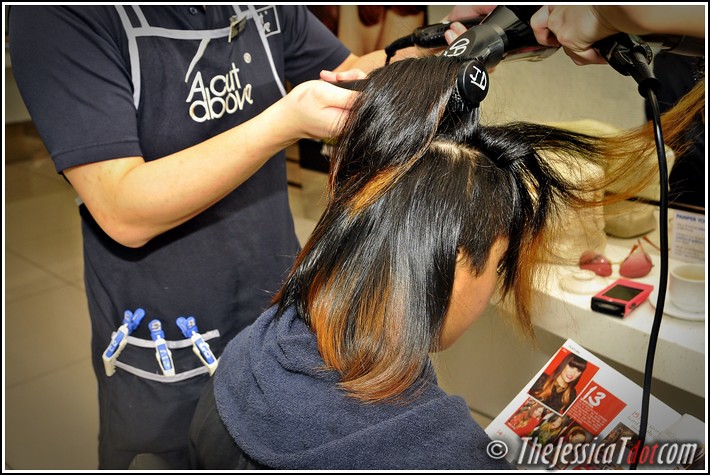
STEP 5 : Blow-drying
Once the treatment had set in during the previous stage, they both began to blow-dry my hair with medium heat.

I was impressed how it made good progress. The results were already beginning to show a bit even when the the entire process of the Brazilian Keratin Treatment was not over yet.
My hair definitely felt softer & less frizzy even at this stage! 
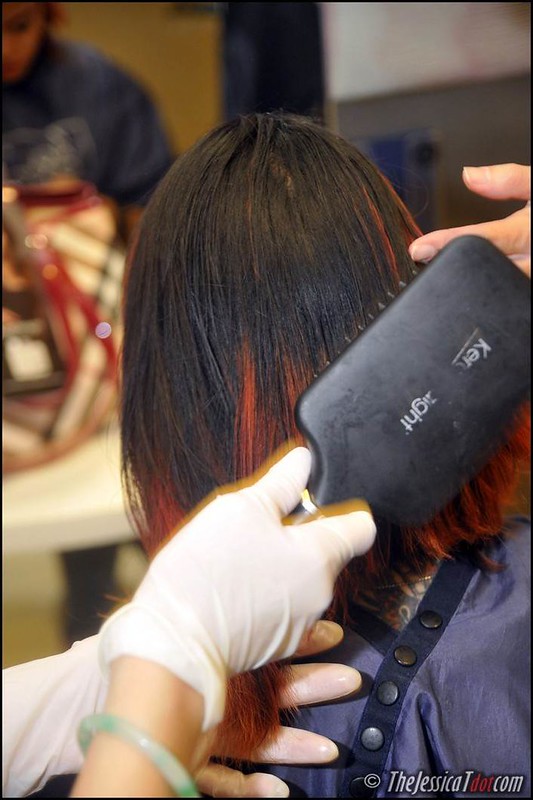
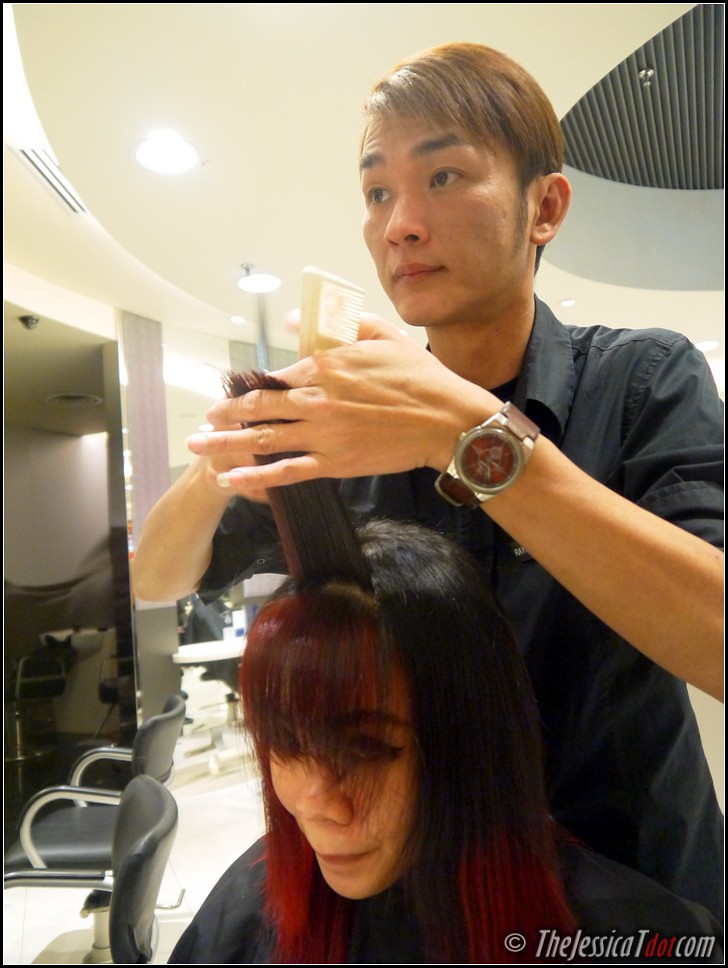
They also used a paddle brush to help smooth my hair during the blow-drying process
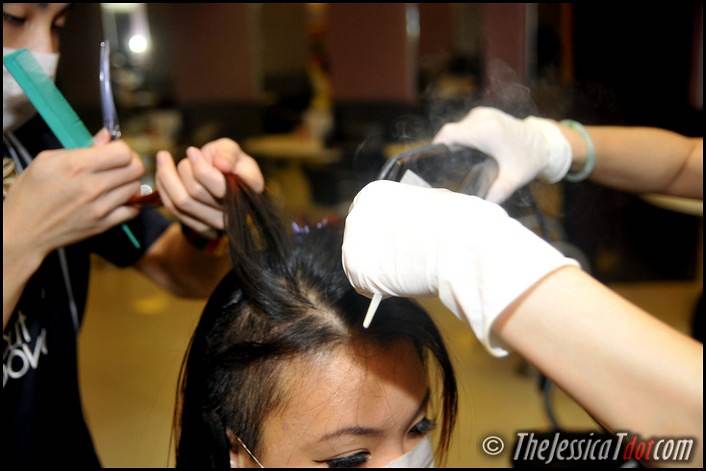
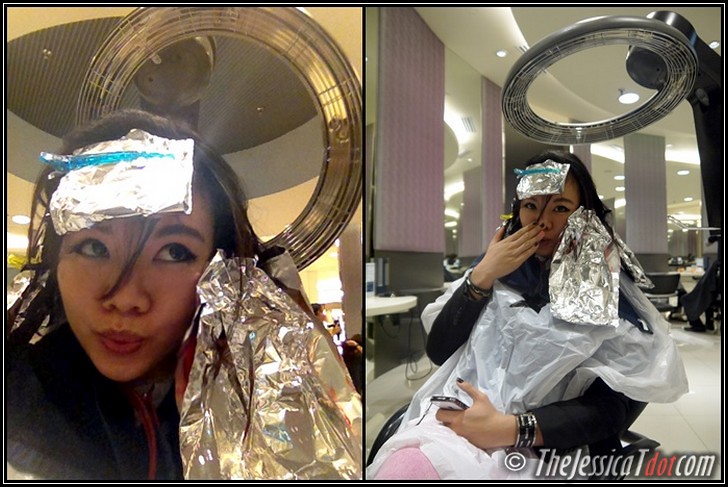
The next step fascinated me a whole lot. I was given a surgical paper mask to wear.
When I glanced at both the hairstylists attending to me, they were already wearing it!
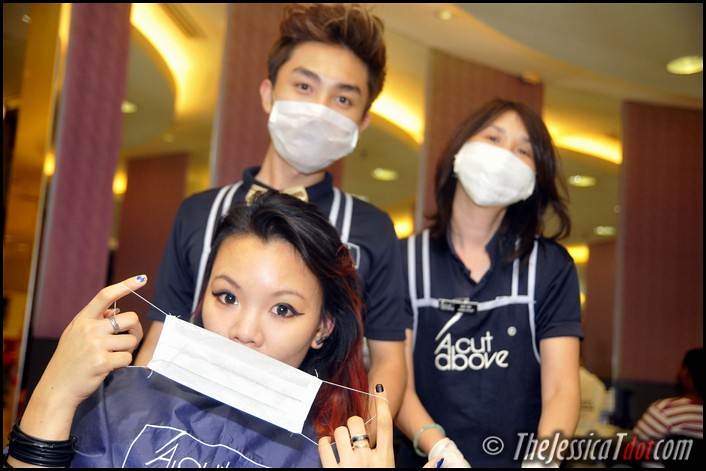
How interesting. This is the very first hair treatment I’ve undergone that required me to wear a mask!
The both of them and I with our masks and their latex gloves. So professional; safety first!
Before I could even ask why we needed to wear the mask, they noticed my puzzled expression and explained to me what the masks were for.
Apparently, some customers didn’t like the smell of the gas or couldn’t stand the mere sight of the “smoke” emitting from their hair.
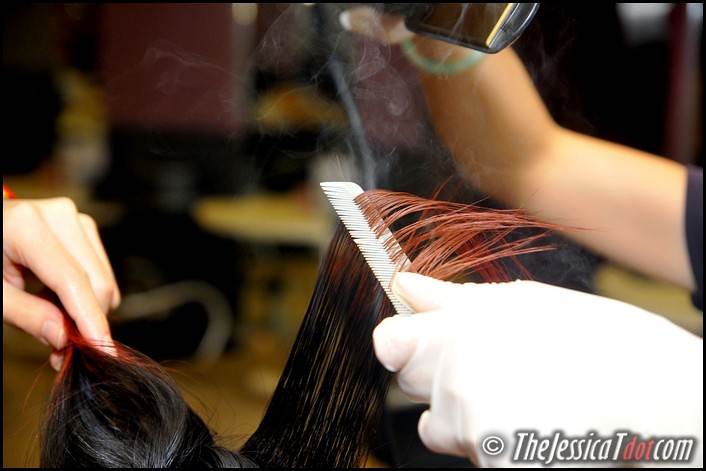
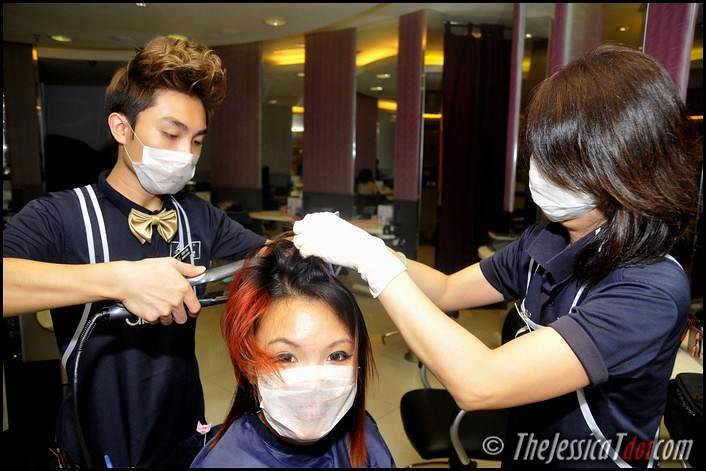
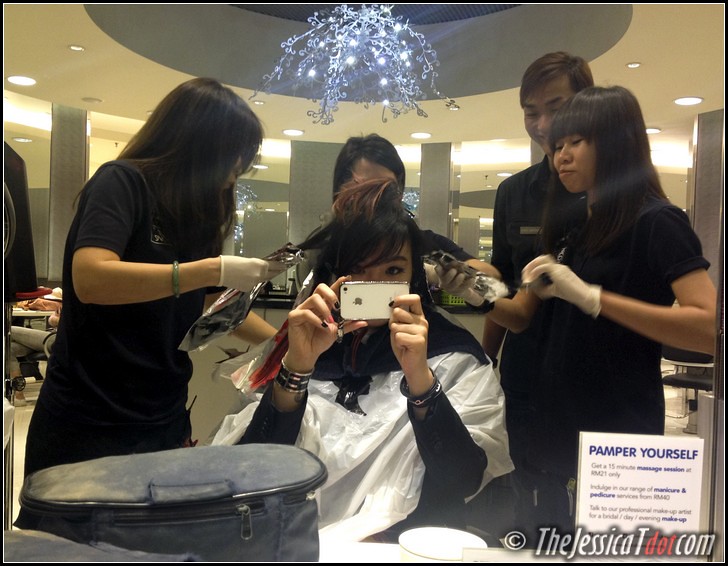
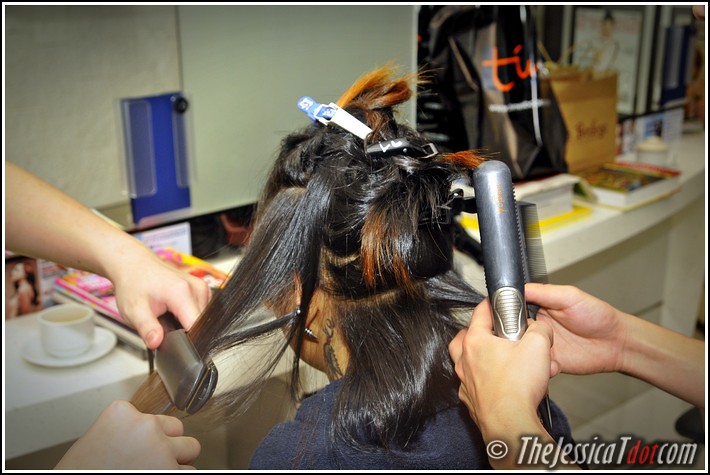
STEP 6 : Ironing
I didn’t mind the smoke/gas at all. In fact, I thought it was pretty cool 
But rest assure to everyone out there, there is no need to be paranoid or worried.
A Cut Above only uses the Brazilian Keratin Treatment by KeraStraight. Their products are Formaldehyde (toxic carcinogen) free!

The Brazilian Keratin Treatment requires a process of sealing the liquid keratin right into the hair cuticles.
For this purpose, a heated flat hair iron is used.

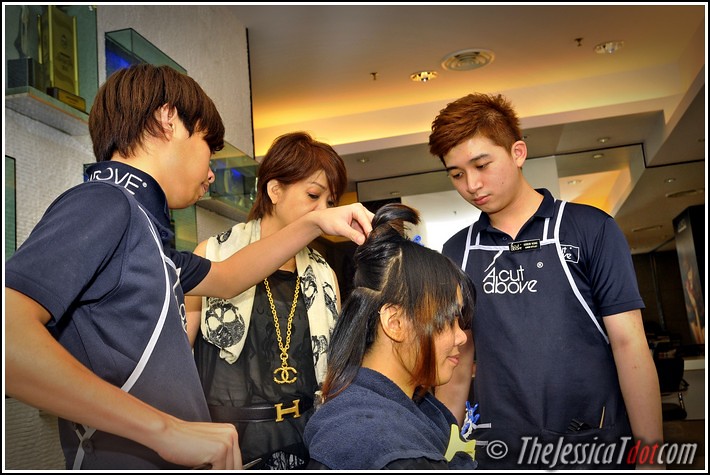
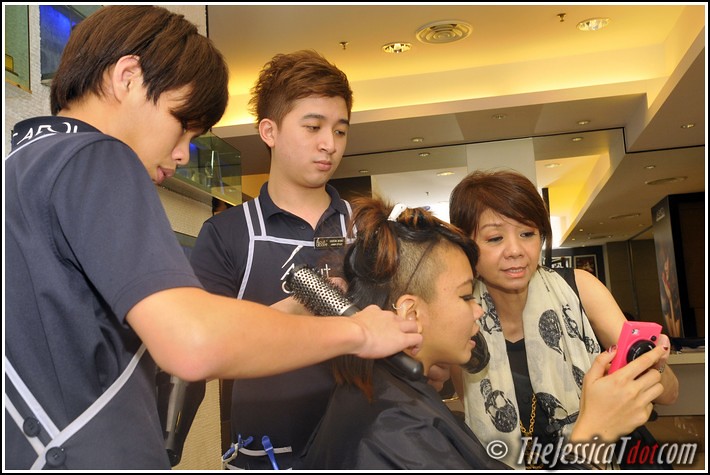
Winnie took some time off her busy schedule to check on the progress
She made sure everything was going fine. It sure was! Her team of hair stylists were doing great.
We engaged in some chit-chat while the two of them were still ironing the liquid keratin into my hair.

She also explained to me certain interesting facts about this Brazilian Keratin Treatment
as I was curious to know how some of the processes work
I have to admit though, I was rather afraid when I saw the smoke and how they ironed my hair several times.
I thought that my hair was on fire or that it was going to be ‘fried’ or ‘burnt’ during this process!

Winnie debunked my initial worries and assured me that I have nothing to worry about. The high volume of protein in the keratin solution has coated my hair and acts as a form of protection from any damage. Without the heat from the flat iron, the liquid keratin will not be able to penetrate the hair shaft as effectively anyway.
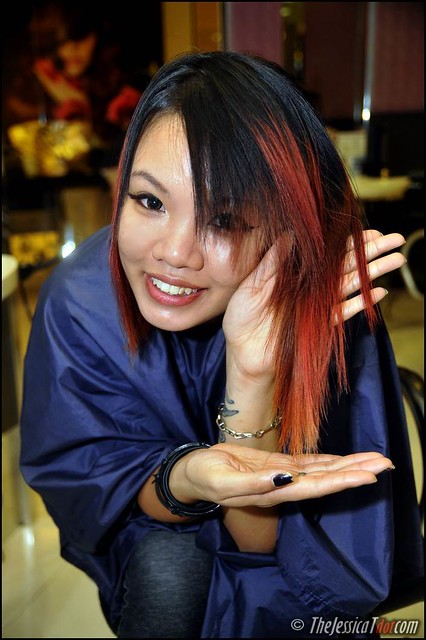
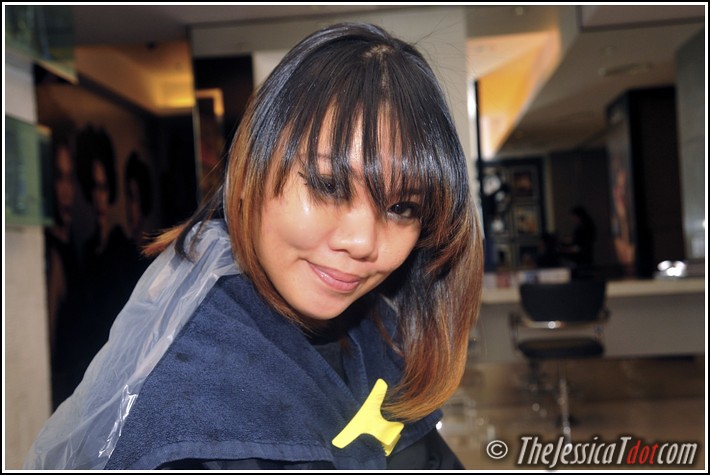
Check out how smooth and frizz-free my hair looks after the ironing!
It looks flat here because it’s fresh off the hot iron!
But it won’t be flat for long because the next step is…
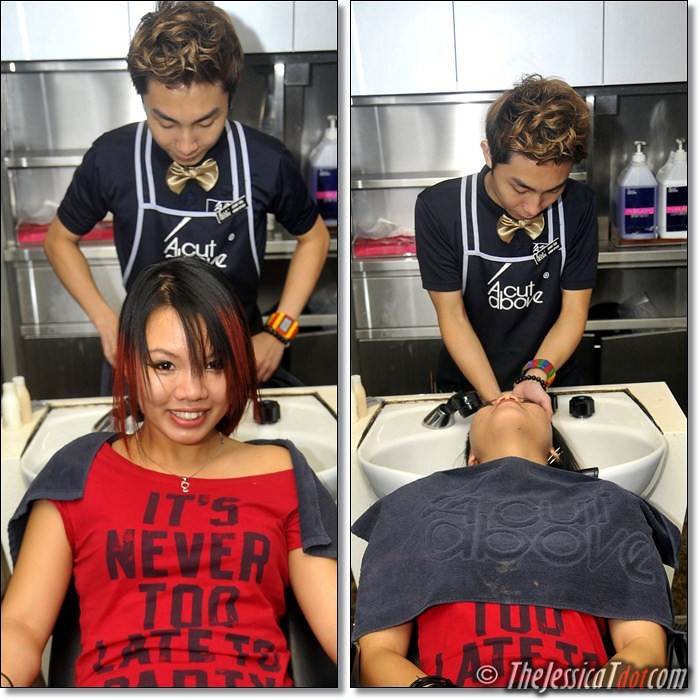
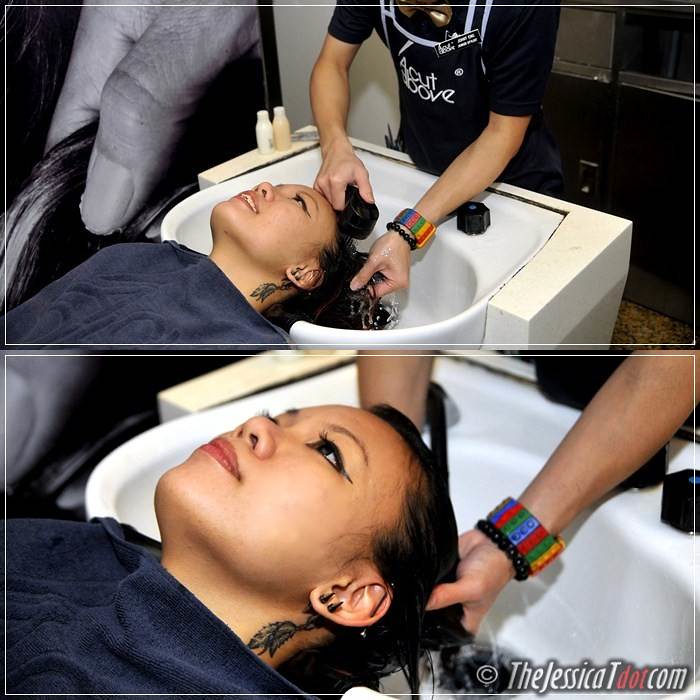
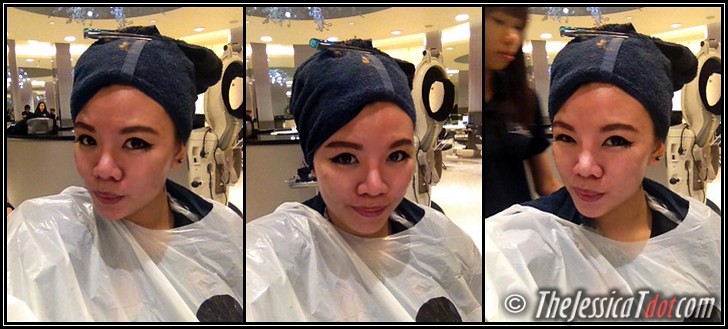
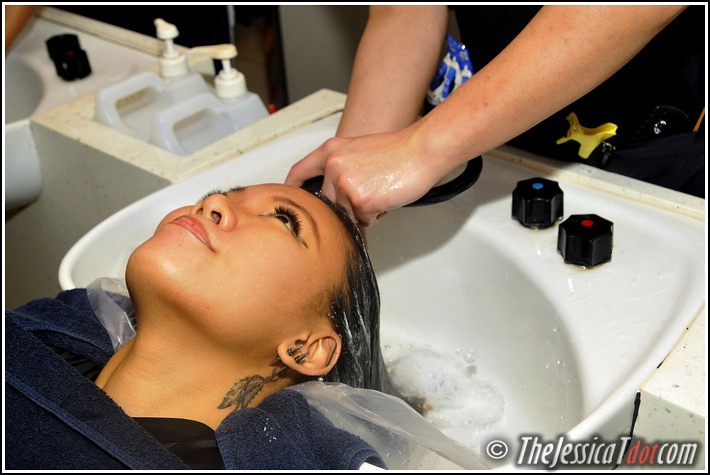
STEP 7 : Shampoo & Condition (Mask)
He then rinsed my hair from all the treatment cream and shampooed it clean.
The KeraStraight Straight Maintain Shampoo was used.
This shampoo is great as it is sodium chloride & sulphate free. (More about that at the end of this post!)
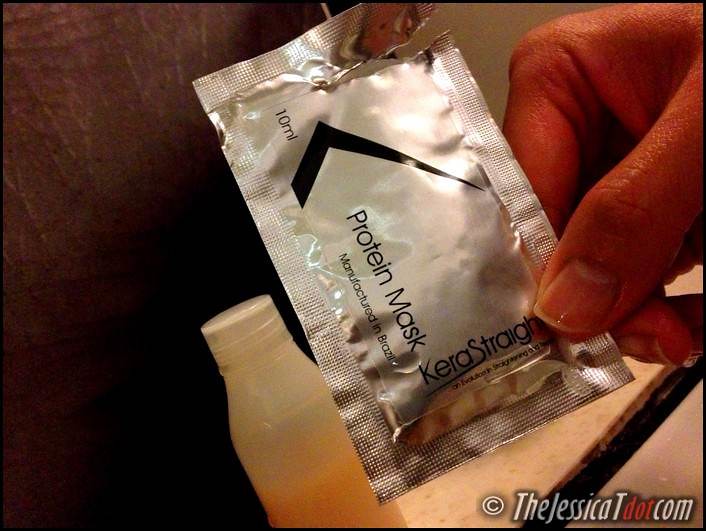
After that, he conditioned my hair with the KeraStraight Protein Mask to leave-on for 5 minutes
Fun fact!
This protein mask is a powerful concentration of low-weight proteins that reconstruct & revitalize damaged hair. It improves hair elasticity & rebuilds it as well – preventing breakage!
Washed everything off once it finished setting in!

STEP 7 : Blow-dry to finish!
We have come to the end of my two-hour Brazilian Keratin Treatment session.
It was a very fascinating and eye-opening experience. My hair has never been this hydrated and healthy! It felt so much softer to the touch and the texture was so much smoother and frizz-free.
My hair’s natural shine has been restored & enhanced
Apart from having softer, smoother & shiner hair, this Brazilian Keratin Treatment has semi-permanent straightening effects too.
As it naturally straightened, the result lasts for at approximately 4 months depending on your hair type and your own protein keratin in your hair’s inner structure.
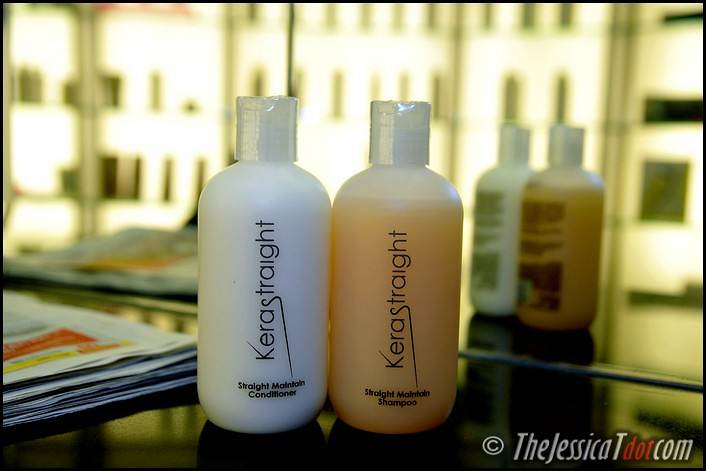
After-treatment care is extremely encouraged.
The KeraStraight Straight Maintain Shampoo & Conditioner!
The former is a luxury Sulphate-free shampoo that maximises the effects of the KeraStraight treatment.
It washes & cleanses gently without stripping away the protective layer of Keratin.
The latter is specially designed to lightly moisturise the hair with its blend of complex proteins.
This lightweight conditioner’s low pH of 3.5 locks the hair shaft to prolong the results of the treatment.
Loving the results so much!
I fully recommend this treatment above everything else for healthier & gorgeous hair!
Finally, it doesn’t look like unruly, deep fried grass on my head anymore.
This comes from the girl you know with bright red hair for the past 6 years. Throughout all my years of chemically-altered & damaged hair from all the bleaching, self-tonged-curling, dying, straightening, perming and everything else I’ve done to my hair, this Brazilian Keratin Treatment has done my hair a favour!
So yes, I can definitely vouch for this
The starting price, depending on your hair type/condition, begins at RM600 (enquire within!)
Alright, alright. I know a lot of people will freak out when they think of the price.
To be very honest, I think this high-tech, natural treatment which strengthens & repairs your hair from within and without, is well worth every penny & a good investment to your hair.

I personally have spent so much on my hair (amounting up to several thousands!) over the years trying to give my hair the best it deserves.
After numerous, various hair treatments I’ve done & experienced, I’ve came to one conclusion –
– You decide you want to be stingy on your hair, so you only fork out RM80-RM200 for a mediocre
hair treatment with high hopes that it will guarantee you healthier, stronger and smoother hair.
– You achieve only the result of softer hair which will last you for a couple of days, or a week, at most.
– You are dissatisfied and return for another hair treatment thinking that
‘it is good to go for a hair treatment once every few months’.
– Your hair is still unhealthy from the inside, still damaged and not even close to being silky-smooth.
– Three times undergoing that so-called hair treatment of sub-par quality
(one that does not repair your hair but only gives you temporary softness!) would already amount to RM600.
Do you see what I mean yet?
I was a very happy girl with very happy, healthy hair that afternoon
My point exactly. So.. why don’t you just put that RM600 to good use for the hair professionals to give you a high quality treatment that guarantees healthier, stronger & shinier hair once and for all?
Your hair will thank you for this.  Mine sure did; I could almost hear it
Three cheers for the Brazilian Keratin Treatment – a newfound gift to hair!!
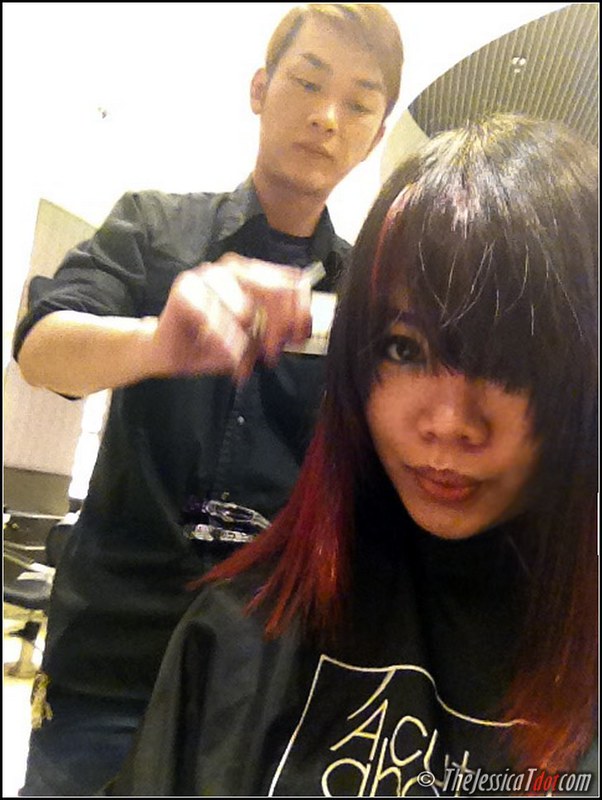
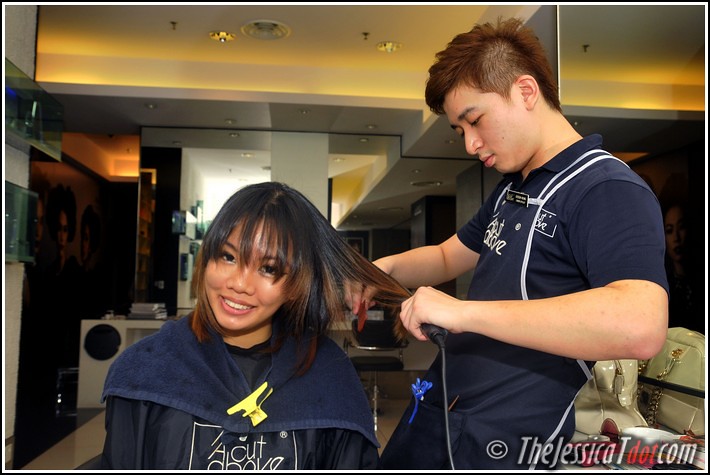
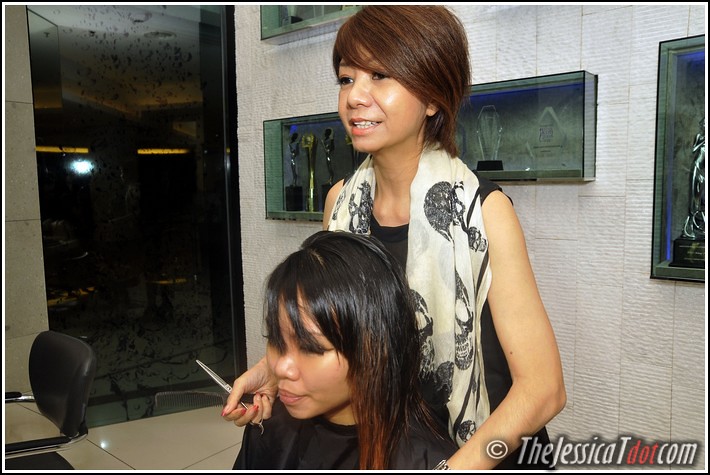
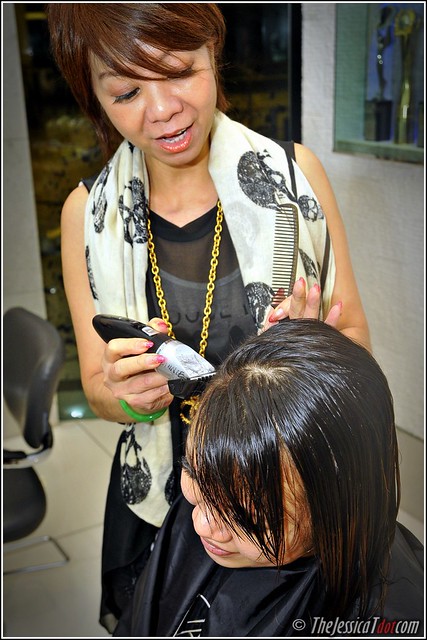
After the hair treatment, I felt like having a trim or a nice cut to complement my brand new hair.
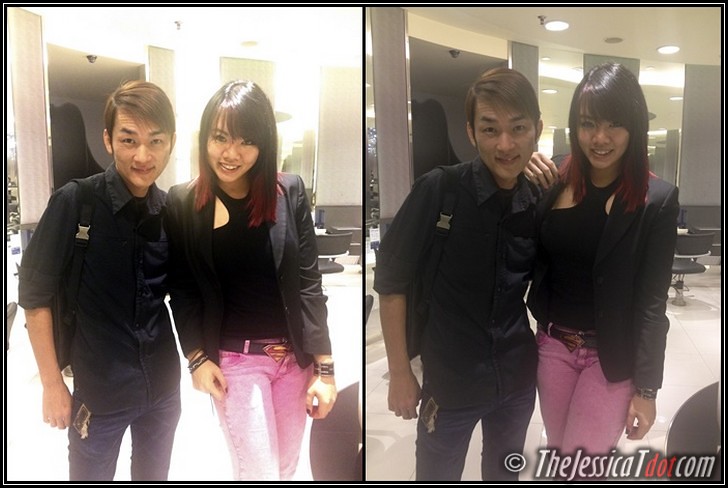
With her deft fingers and skills, Winnie so graciously gave my hair a magic touch
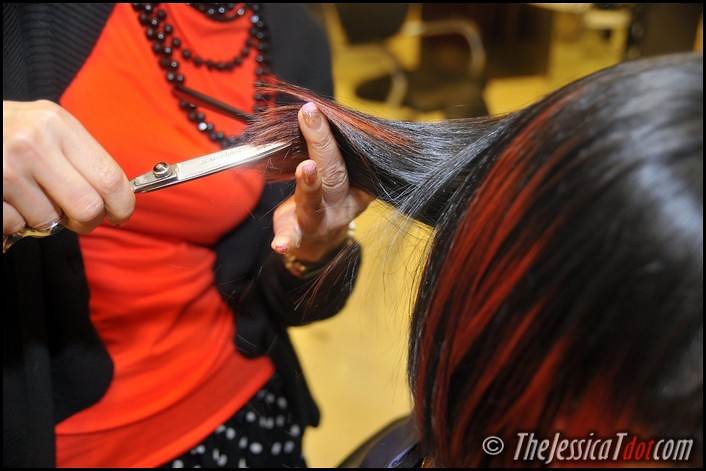
Snip snip snip!

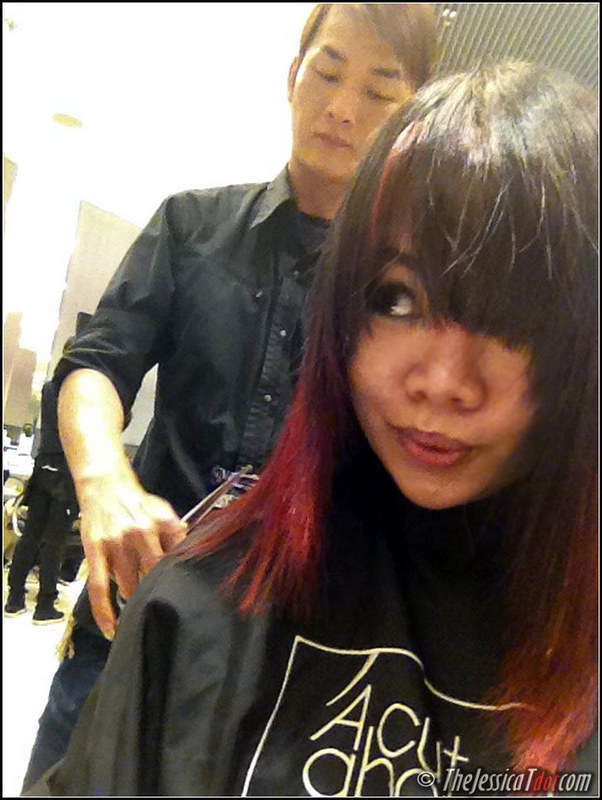
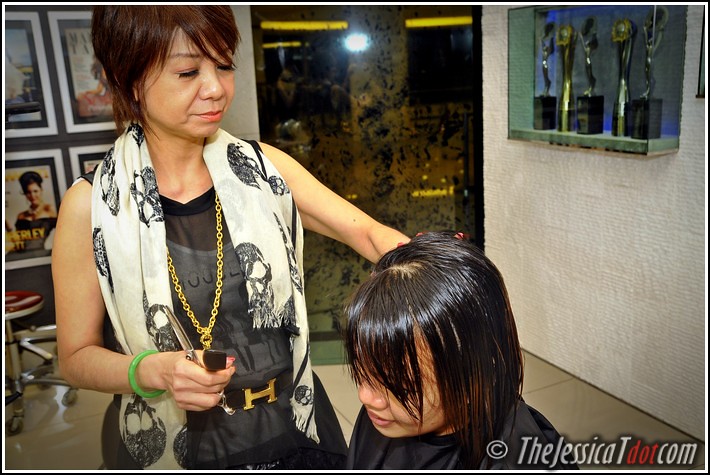
The master at work
Being one that favours the bold, daring & experimental when it comes to hair styles, I left the decision entirely up to my hairmaster Winnie to surprise me with something new.
She told me that she will give me an edgy, non-conventional haircut to suit my personality.

Winnie truly read my mind She’s wonderful!

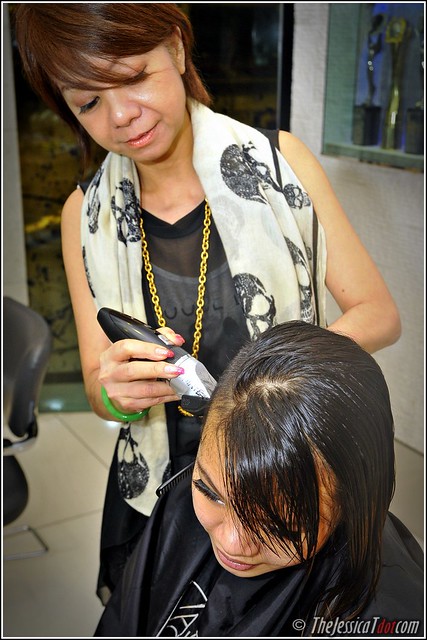
She also gave me back my buzz-shaved, Skrillex-inspired undercut!
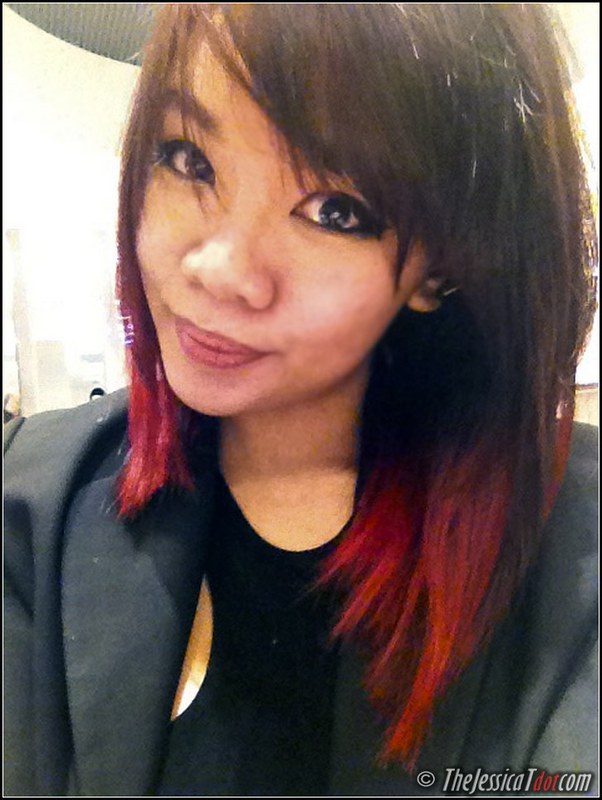
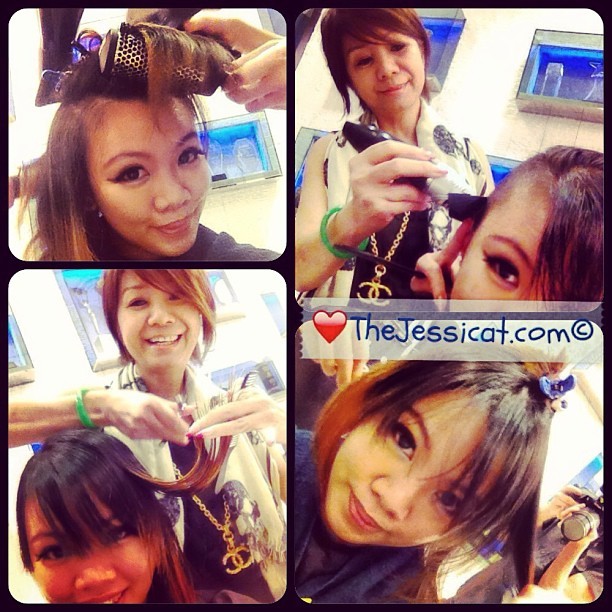
And lastly… a short, bold set of bangs!

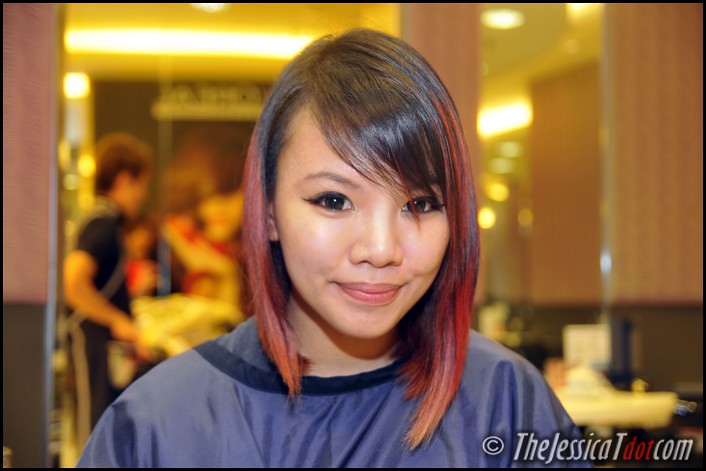
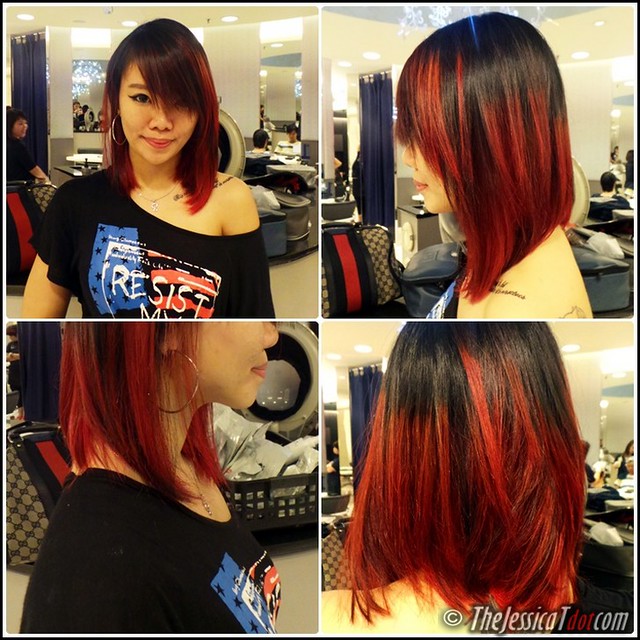
DONE!!! ")

What do you think? Something different, hey?

Cool, right? I loved my new look so much!

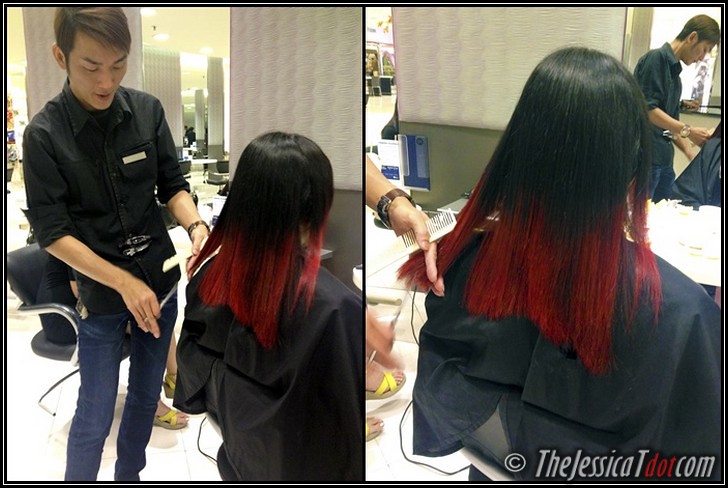
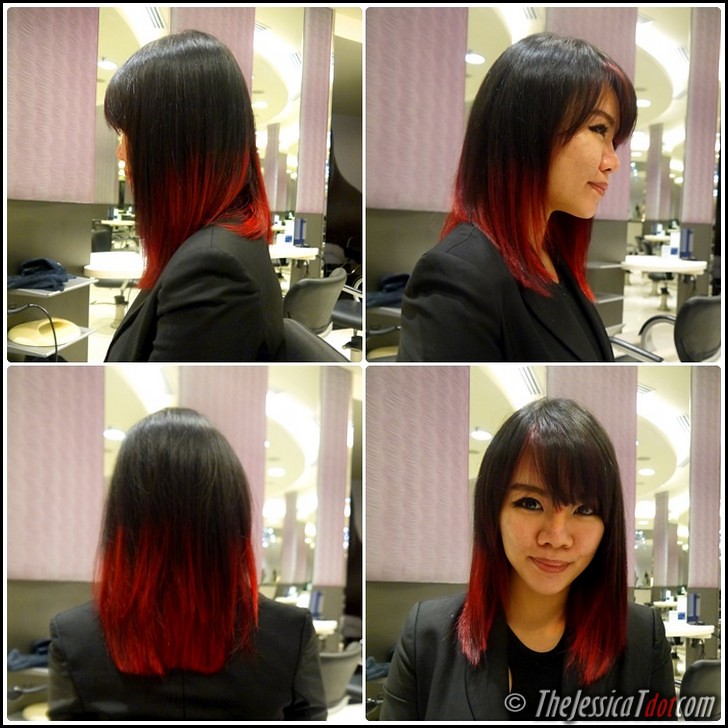
RIGHT – BACK – LEFT
She maintained my concave slant of my short hair but made it so much more choppier, edgier and deliberately uneven – just the way I like it! I noticed how this creative cut was also crafted to bear more of my nape tattoo.
Told you she’s a wonder. Blessed with talents & an amazing personality yet so down-to-earth and fun!

I had a delightful time at A Cut Above. So thankful that my hair is in good hands now
They made sure I didn’t leave without the after-care products too
So for you people out there who have been asking me about dry/damaged/frizzy hair, you know what to do
I hope my first-hand experience was comprehensive enough to guide you with everything you need to know about the Brazilian Keratin Treatment! I will continue giving you the latest updates bout new stuff/promos from A Cut Above!

Try it for yourself! You’ll be impressed by the results.
Today it has already been 3 weeks and counting! The long-lasting effects showed no signs of diminishing so far
The KeraStraight Brazilian Keratin Treatment is only available at A Cut Above Group of Salons.
To make your appointment, call 03-22833131 or visit their webbie at www.ACutAbove.com.my for more details.


 Hi! Welcome to TheJessicat.com - an urban lifestyle blog established since 2005, written from the perspective of a Malaysian blogger. Discover the latest and all that the city has to offer! Do bear with her occasional rants & musings though. Happy reading! ❤